Setup BlockWallet with AirGap Vault
BlockWallet is a self-custodial Web3 wallet aiming to empower users with secure and private management of their digital assets. Beyond security, BlockWallet boasts an array of features to streamline your Web3 experience. These include seamless cross-chain compatibility, enabling you to manage assets across blockchains like Ethereum, Polygon, and Binance Smart Chain. Users can effortlessly swap currencies or bridge assets between chains thanks to built-in functionalities.
To cater to users of all levels, BlockWallet presents a user-friendly interface, available as a browser extension for Chrome and Firefox. With extensive support for popular cryptocurrencies and tokens, BlockWallet offers a secure and versatile solution for navigating the exciting world of Web3.
How to pair BlockWallet with AirGap Vault?
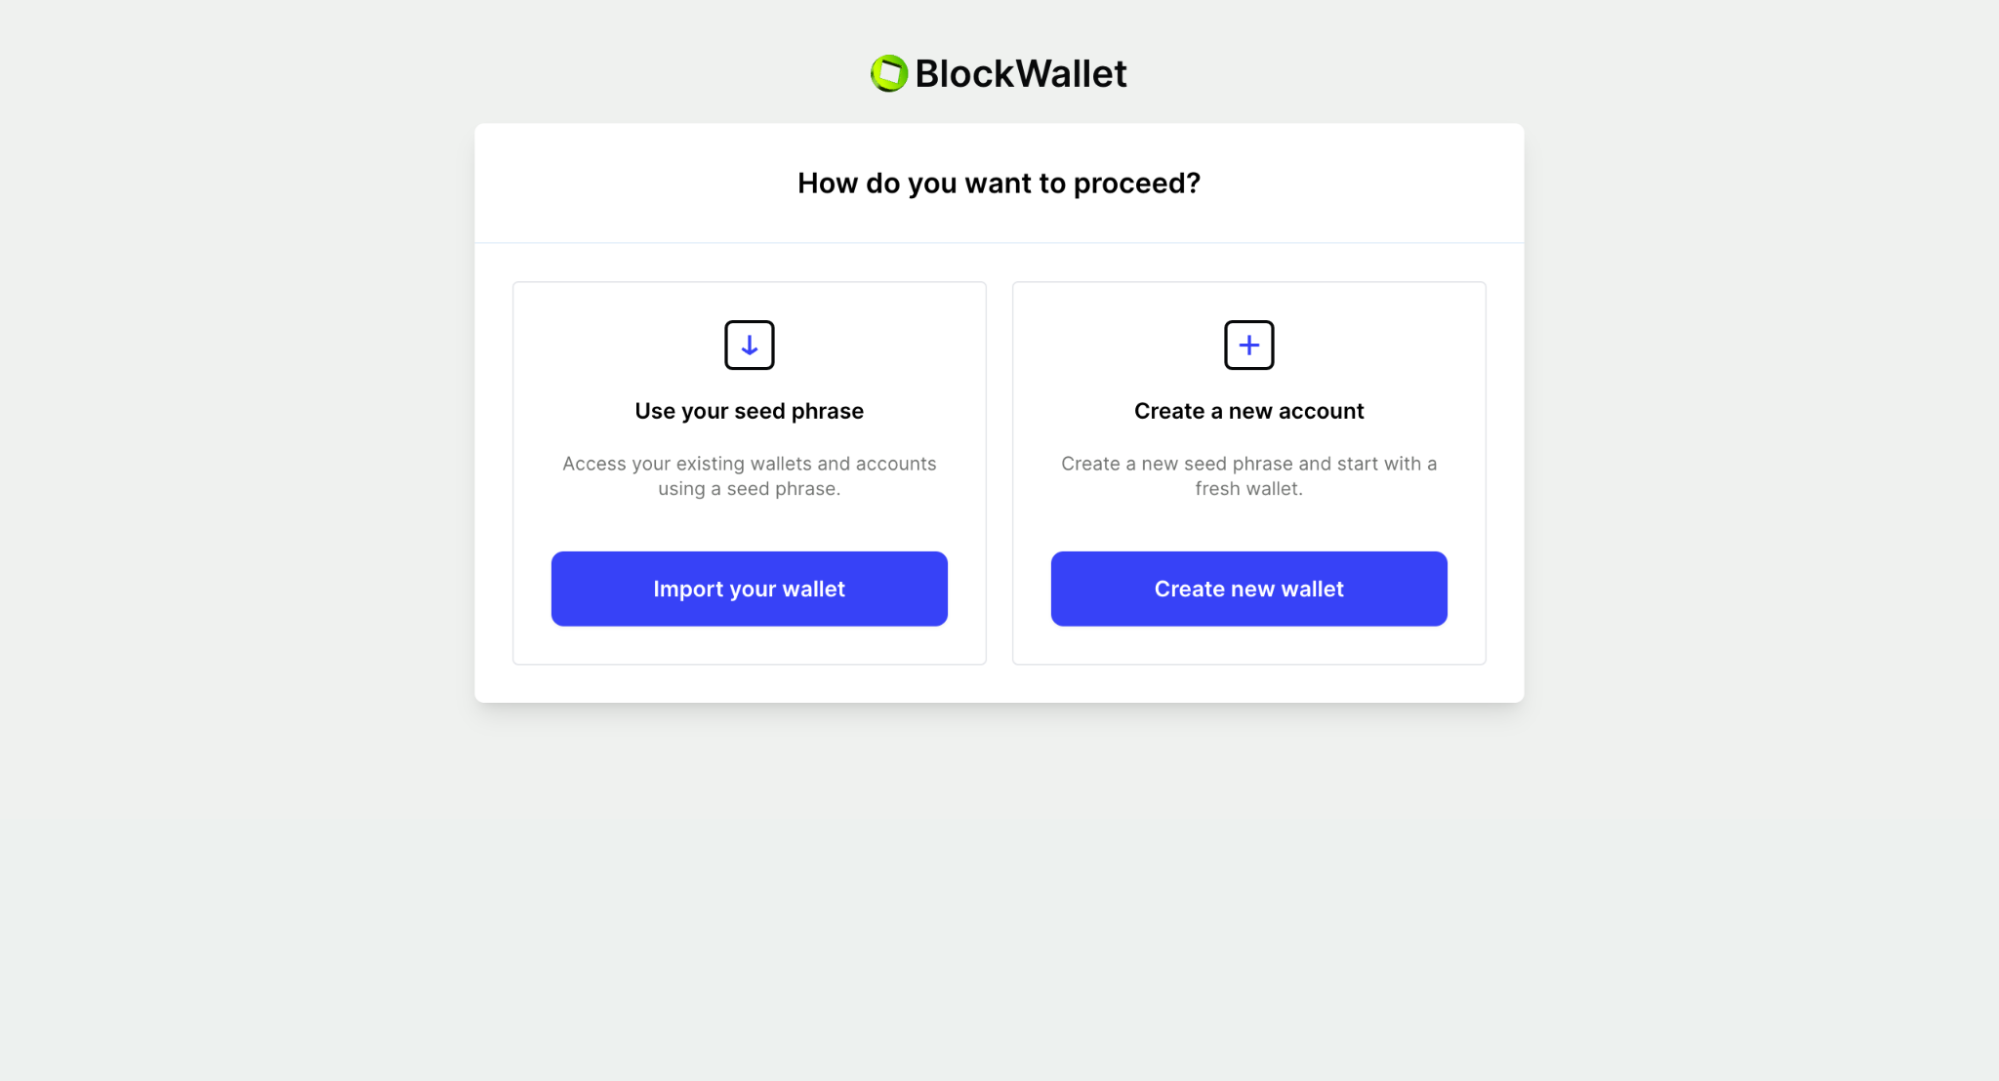
Before connecting to AirGap Vault, you need to create a new Wallet. If you already have a Wallet, you can jump to Step 5.
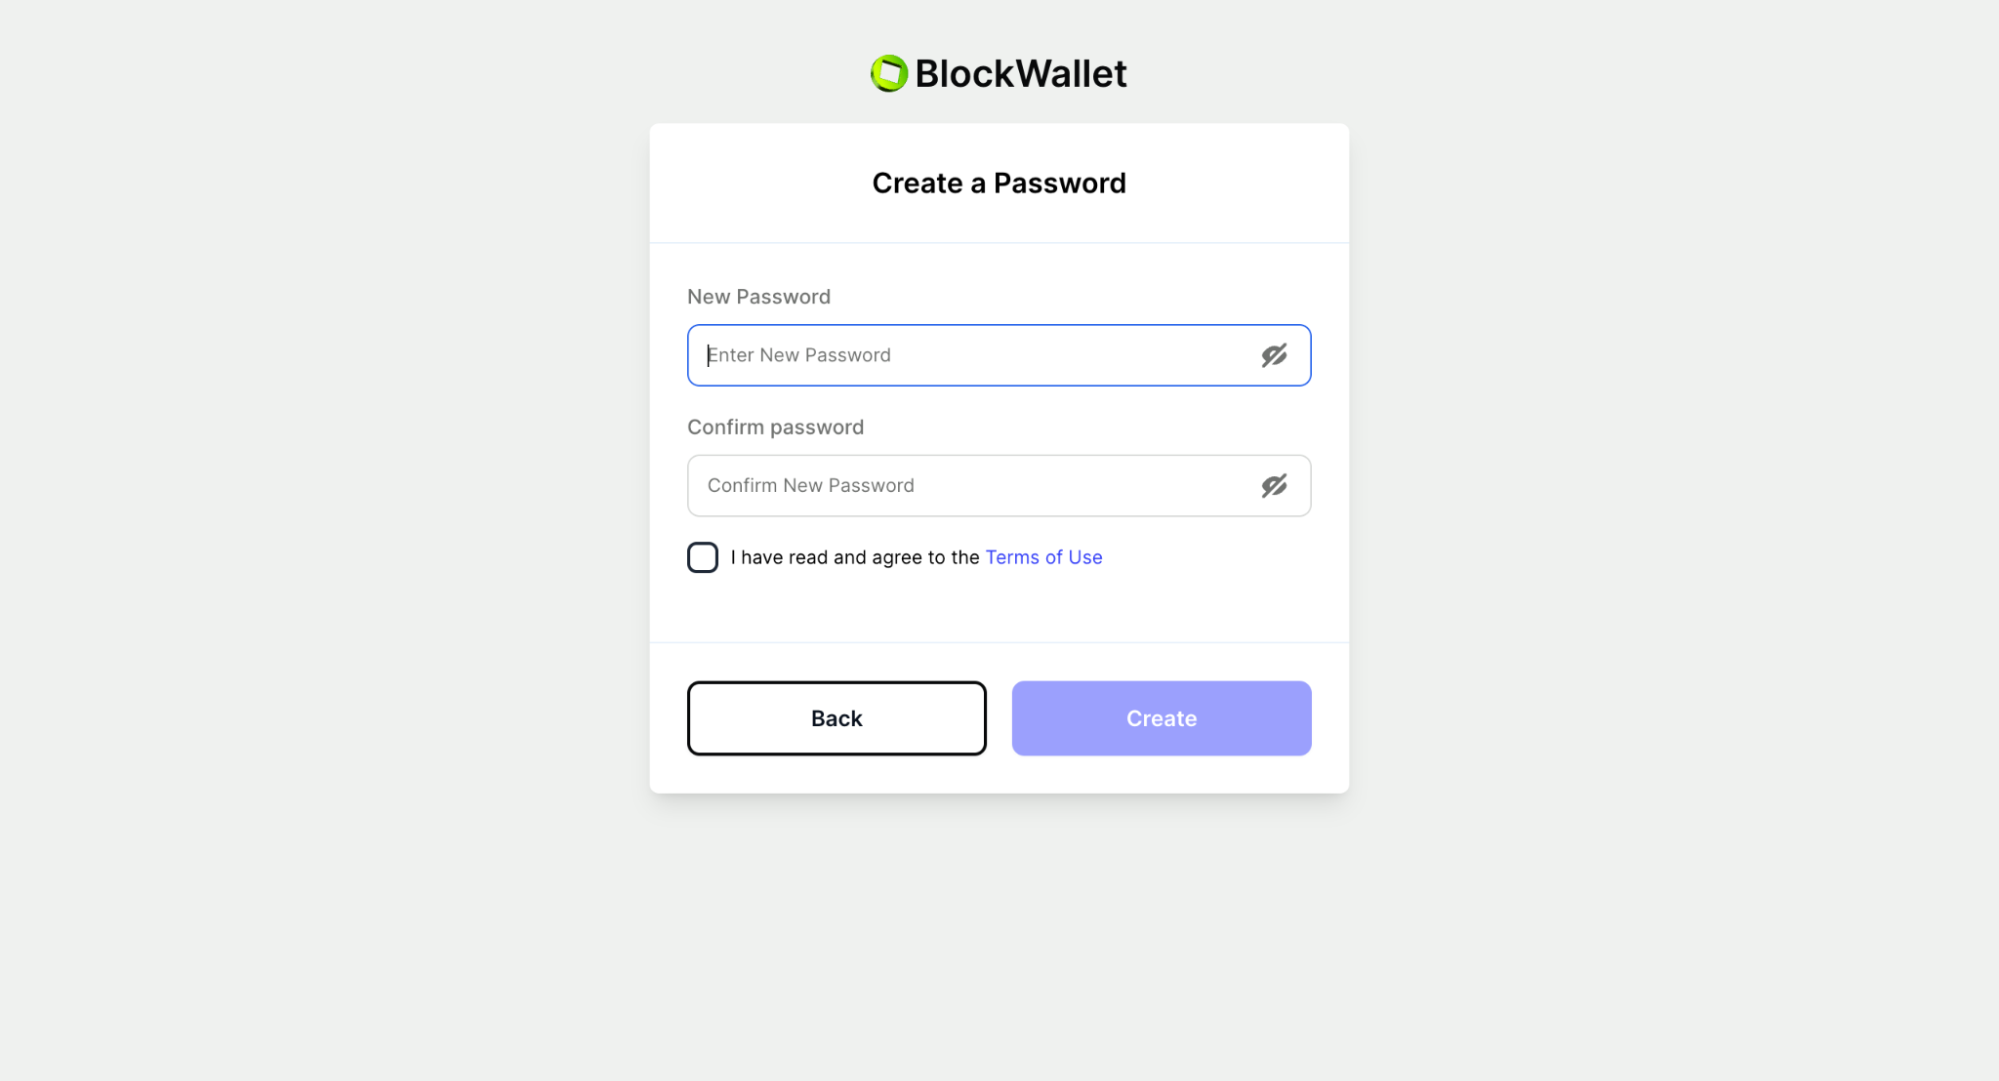
Create a Password for your Wallet. Note that this would not be a password for your AirGap account. This password is just required to open your BlockWallet extension.
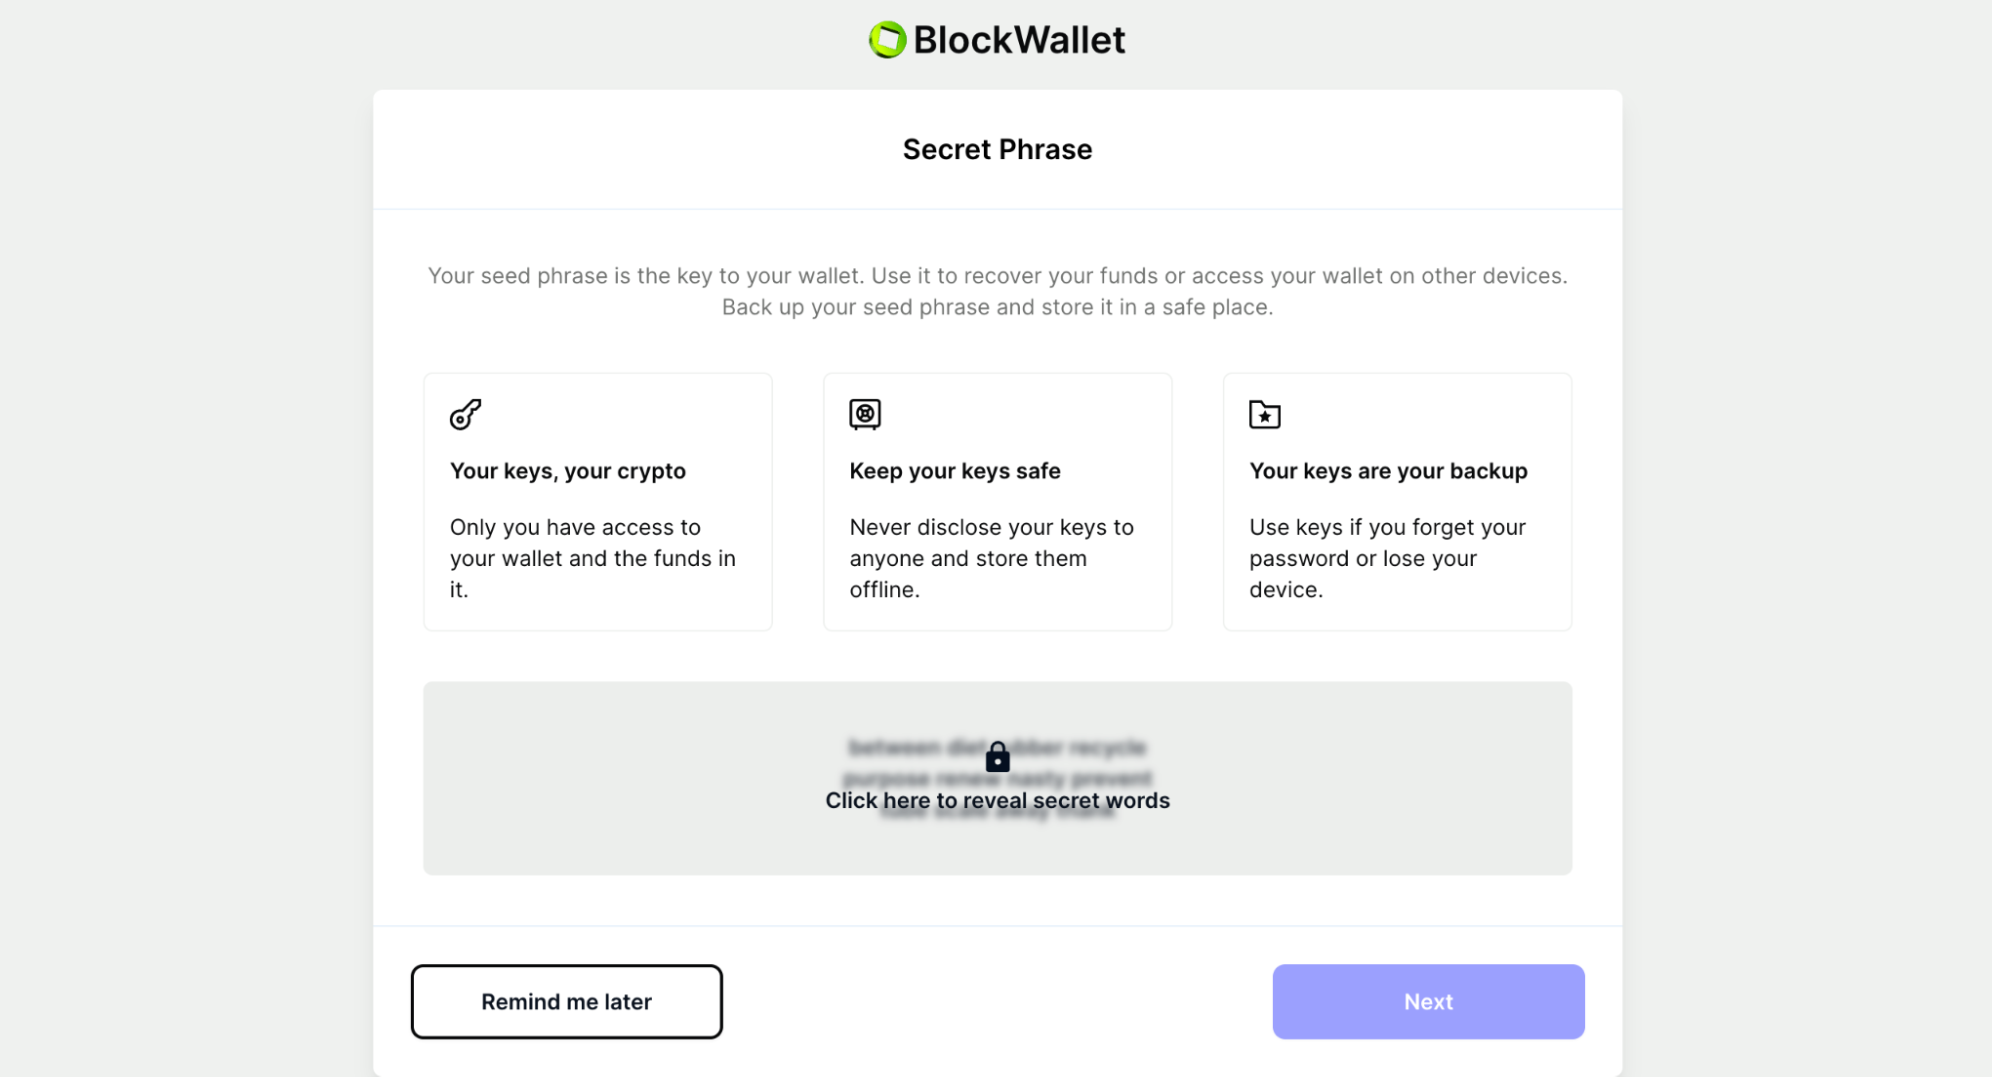
Now, backup this account. This recovery phrase is not linked to your AirGap account anyhow. If you want to backup your recovery phrase, you can use AirGap's metal recovery plates. Made up of steel, these plates are fireproof and waterproof so you don't have to worry about your seed phrase ever.
It’s all set. Let’s link your AirGap Vault to BlockWallet. Open the BlockWallet extension. Tap on “Start Using” button. You'll reach the home screen of BlockWallet.
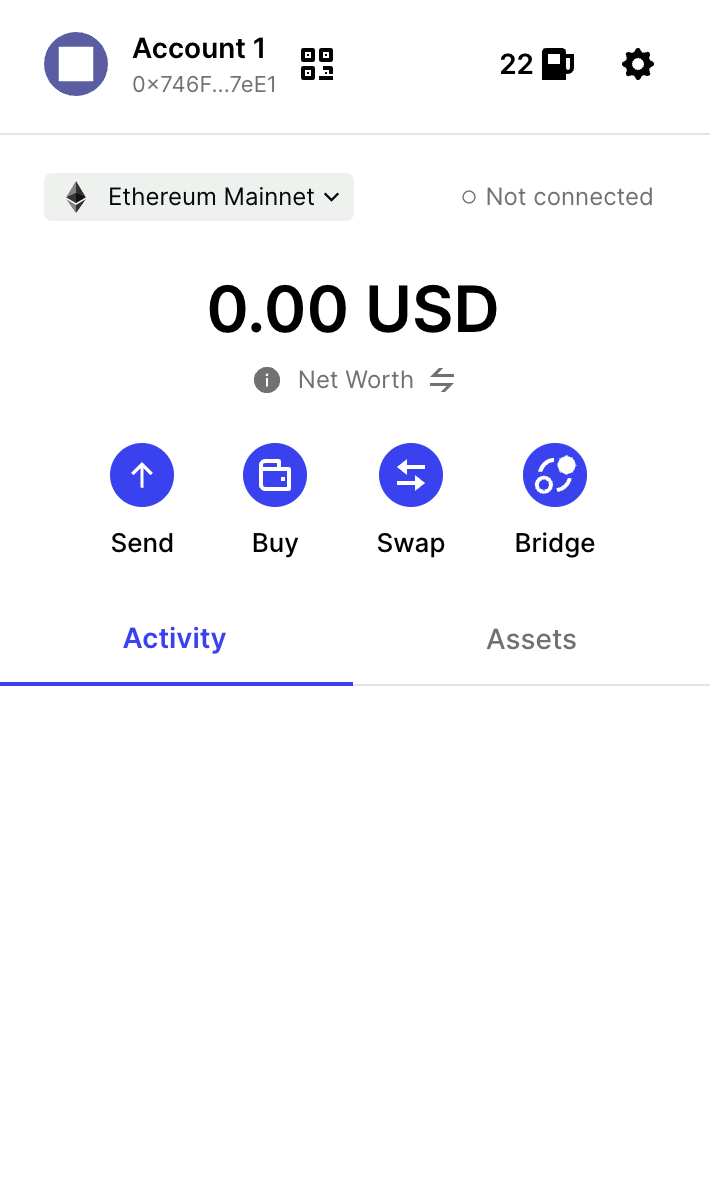
From the home screen, go to the Settings menu by clicking on the gear icon on the top and select “Connect Hardware Wallet”.

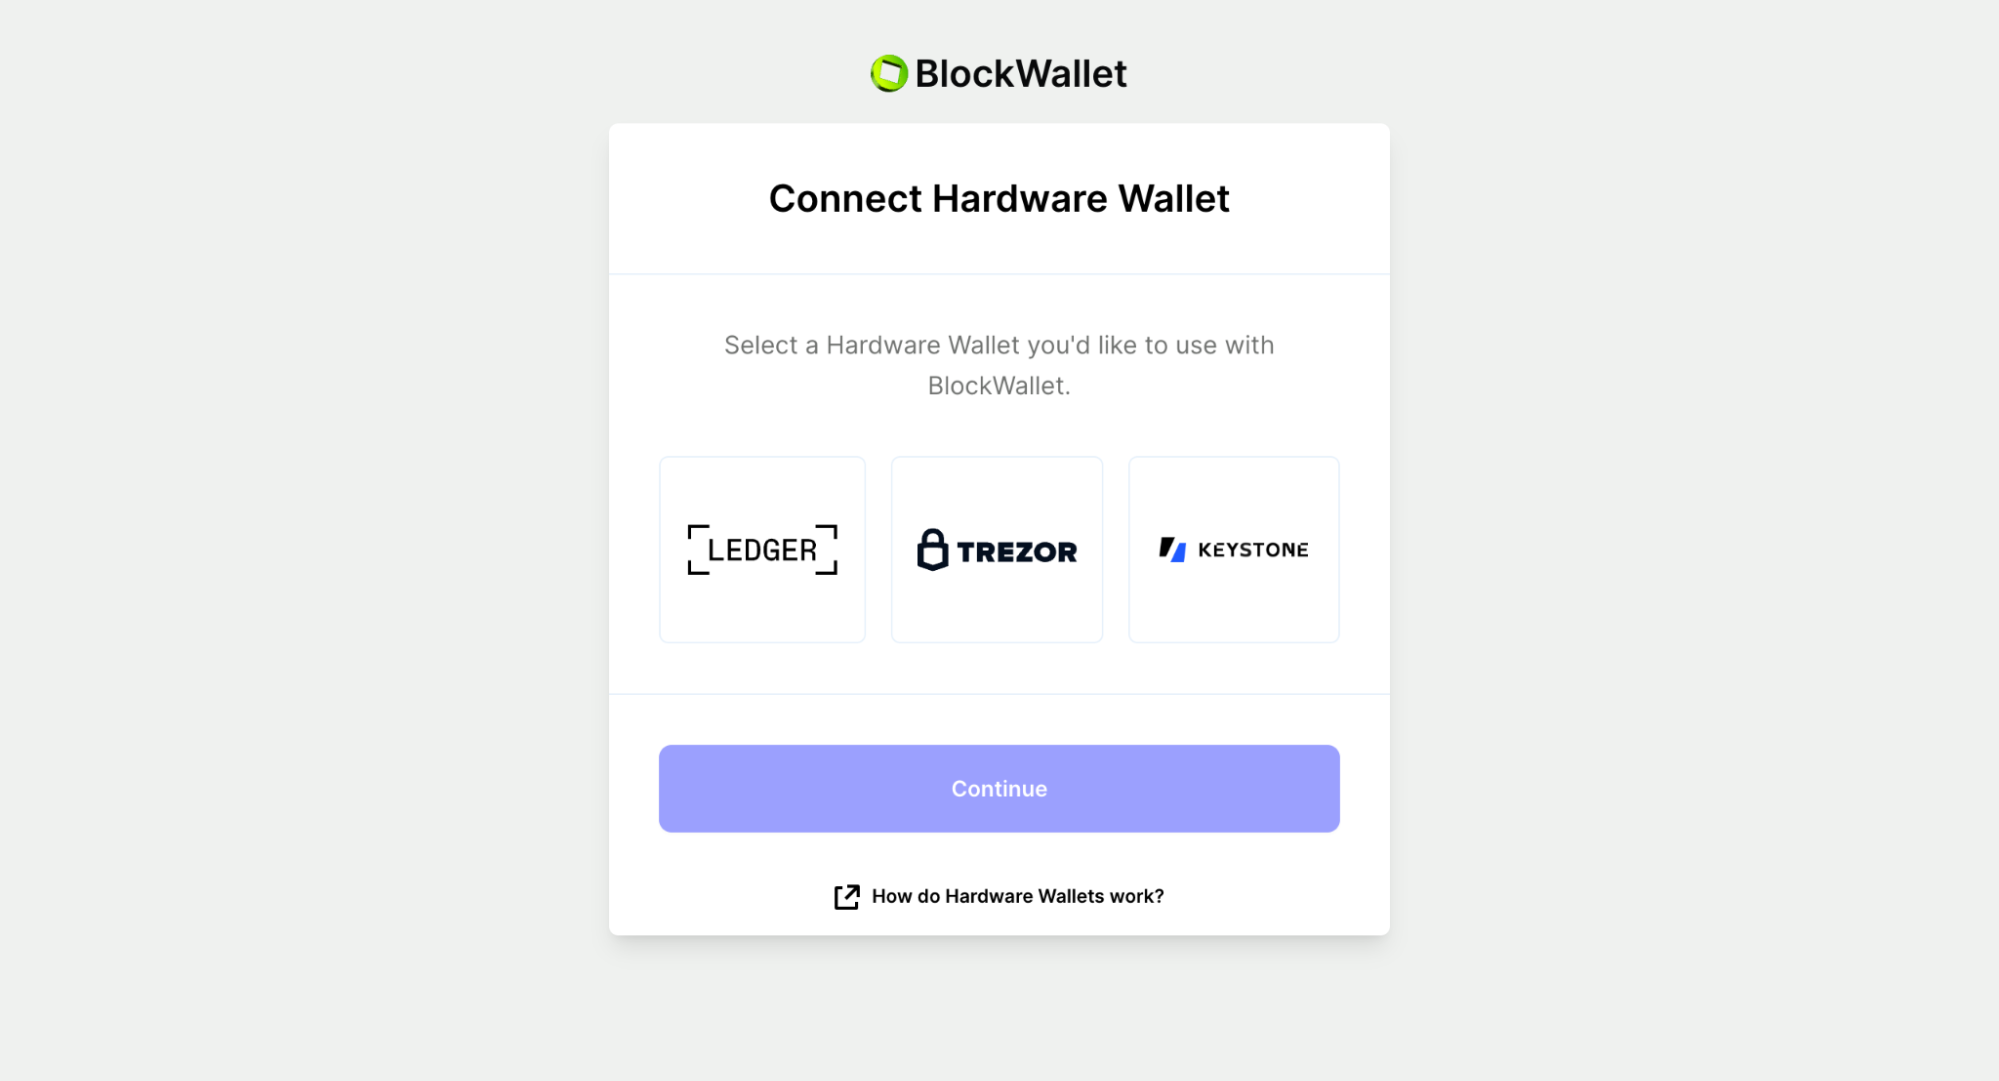
Select Keystone From the options and tap Continue(Keystone and AirGap use the same technology - EIP 4527 for signing transactions.)
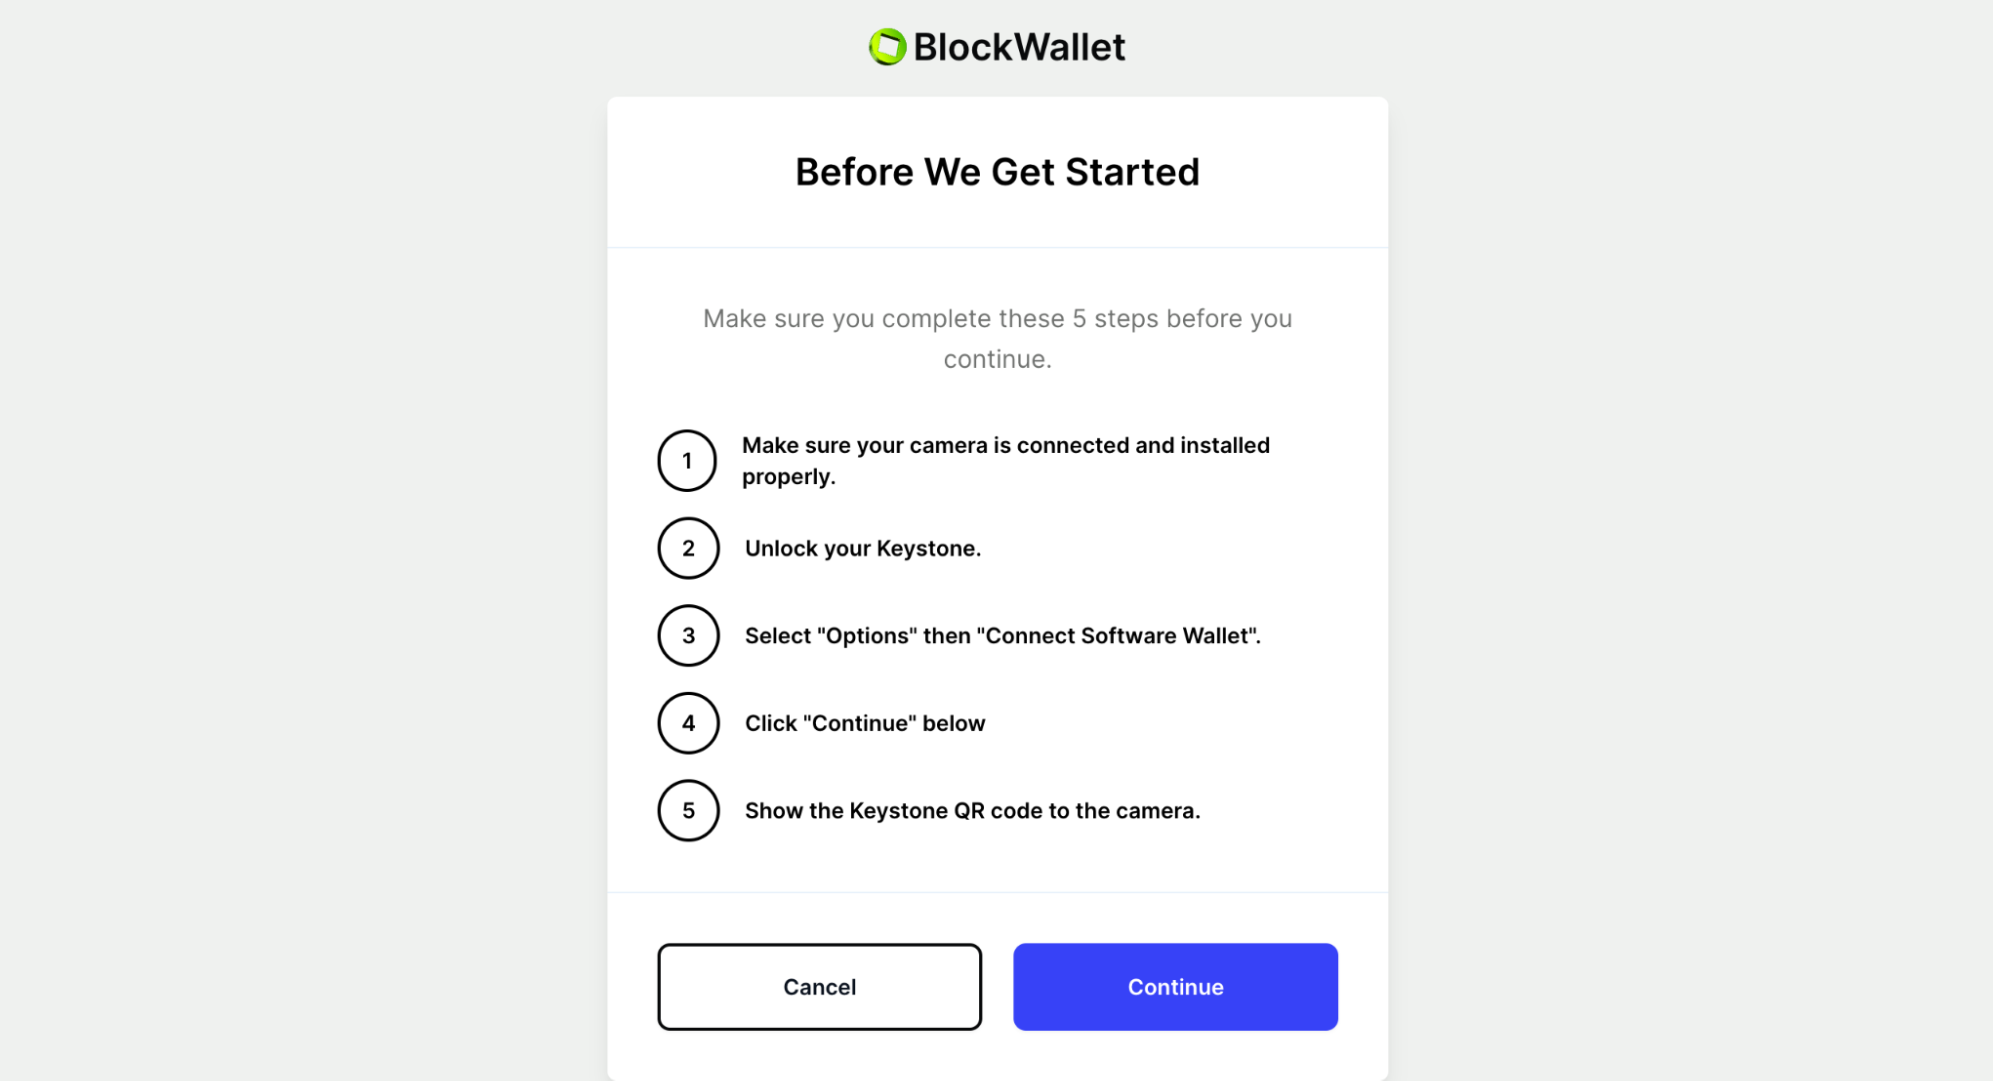
Read all the instructions and tap continue when done.
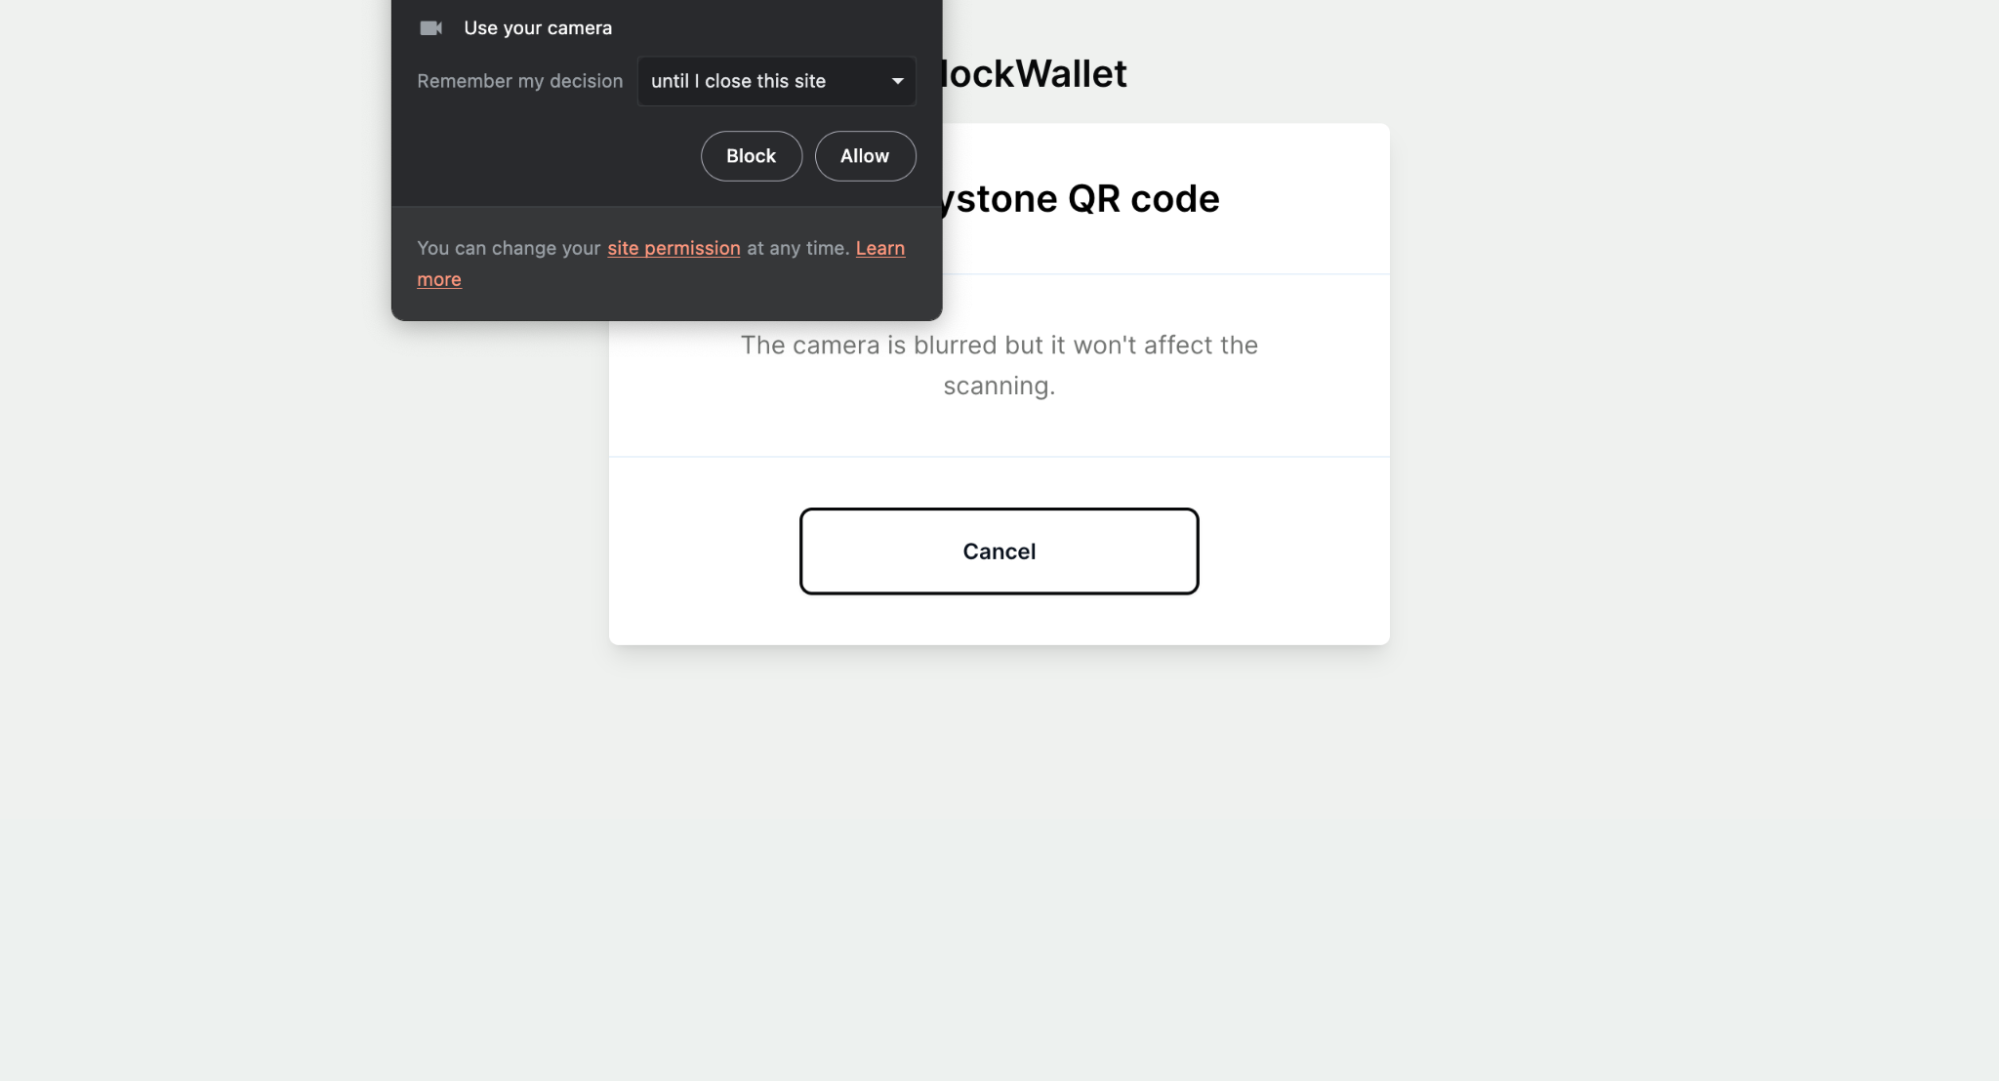
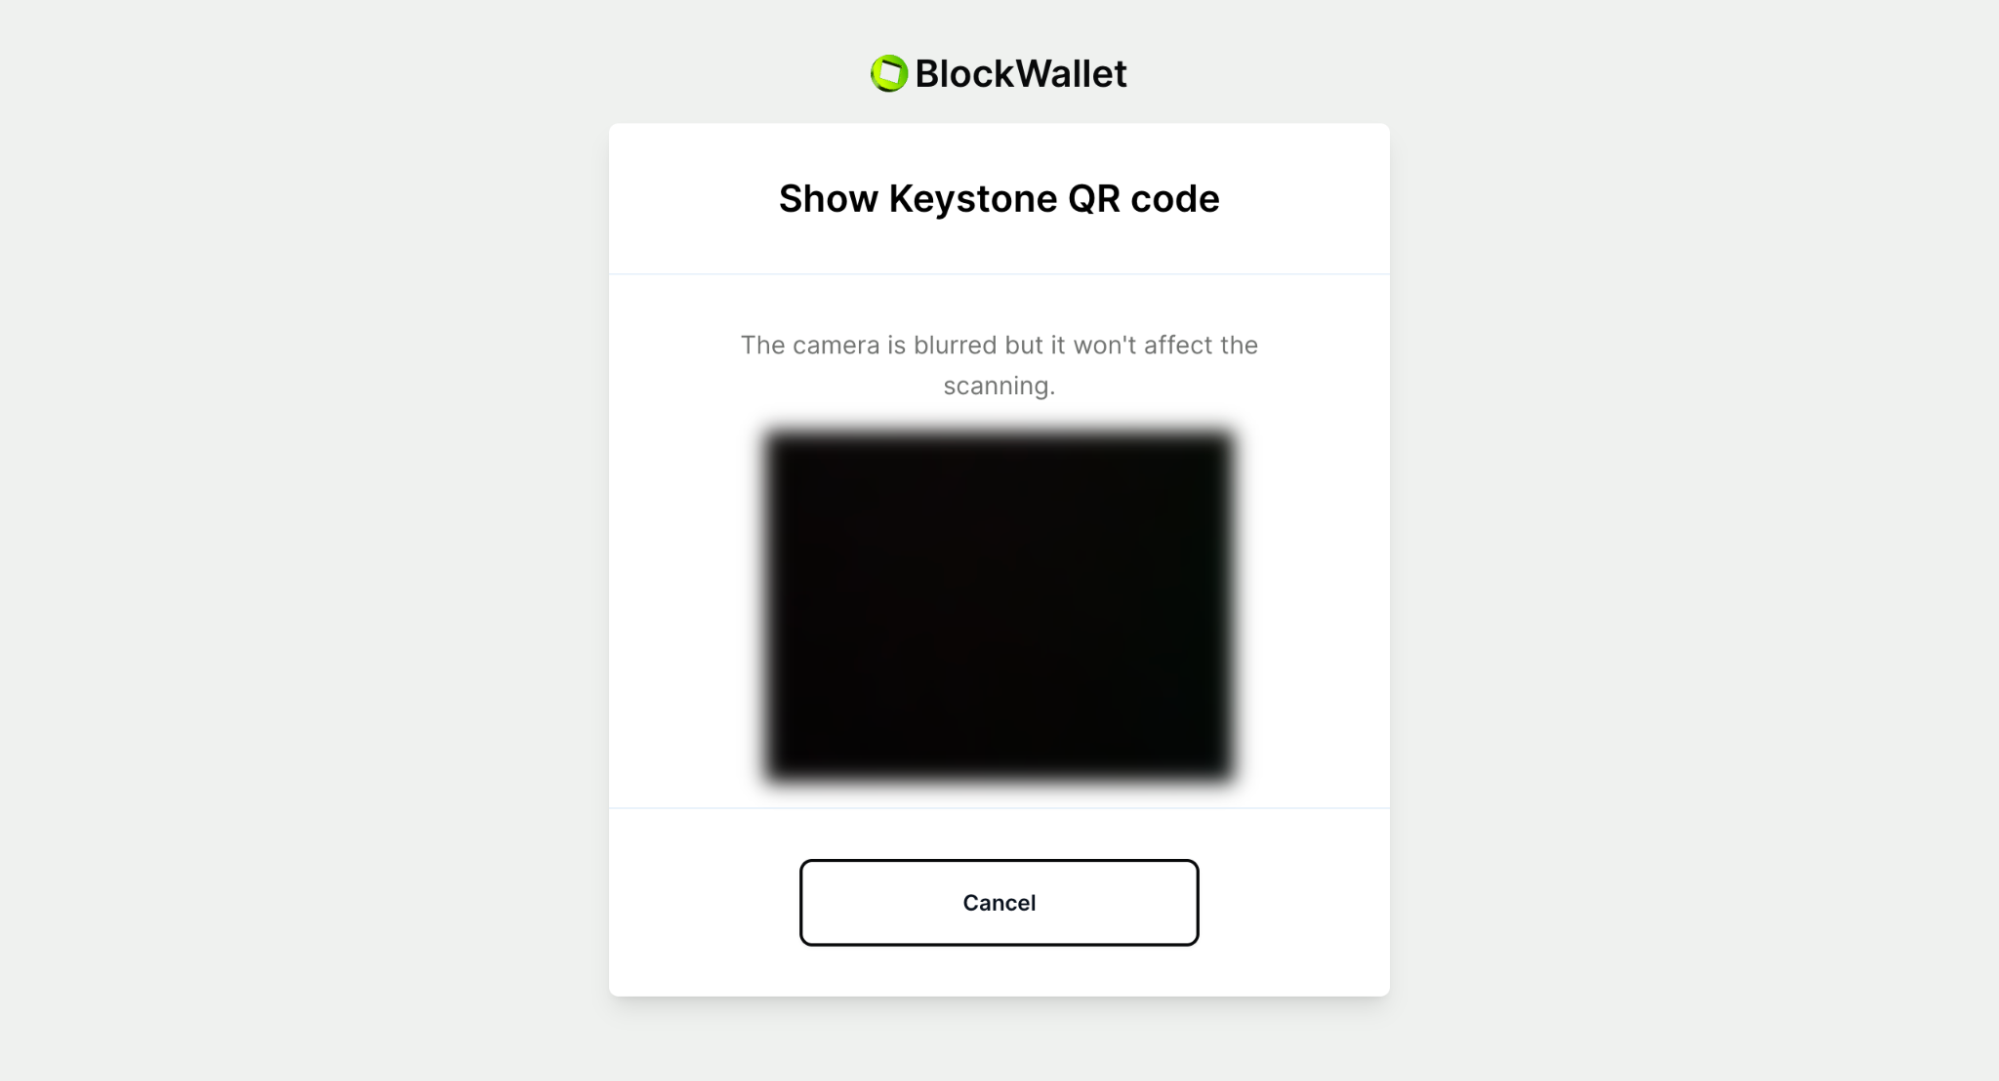
Allow the website to access your camera.
Now, quickly open your AirGap Vault app and select your desired secret. (If this is the first time you open the AirGap Vault make sure you follow our setup guide.) Then, select an Ethereum account. Tap MetaMask as your desired wallet. You will get a connection QR code.
Scan the QR code with your PC's camera.
To continue, select the account that you want to import and hit “Import”. Voila, you have successfully imported your AirGap account into BlockWallet. Now, open the extension. You'll be able to see your account balance.

Making a transaction with BlockWallet
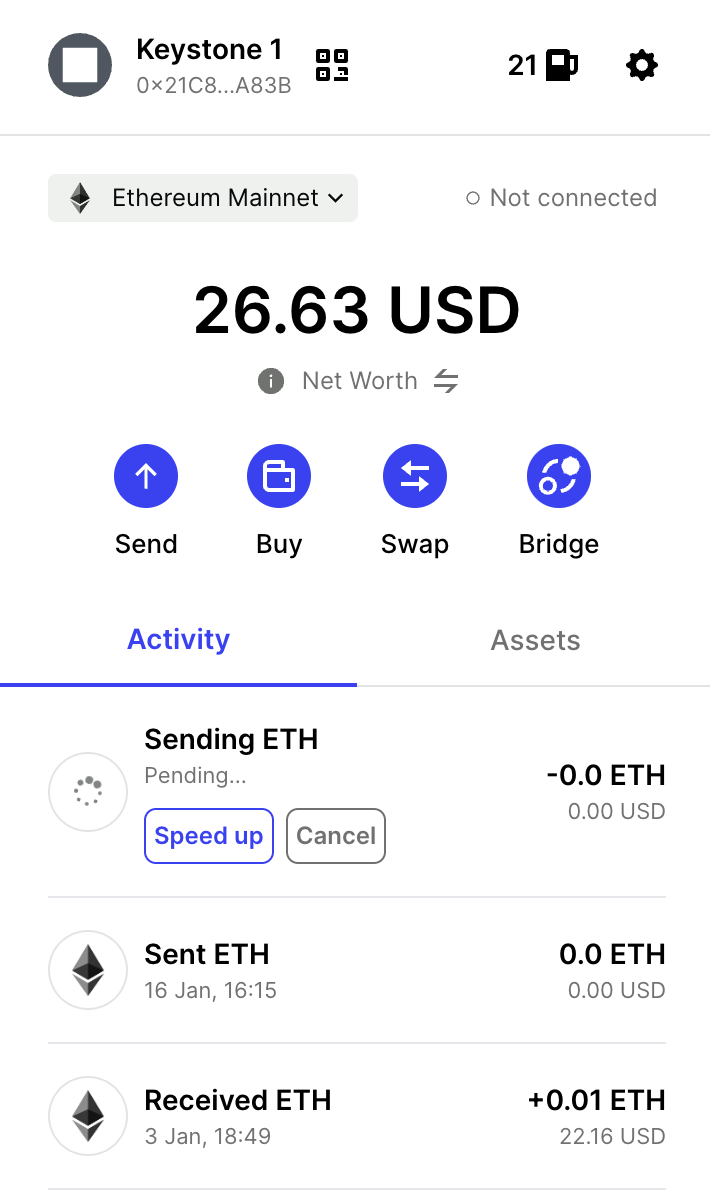
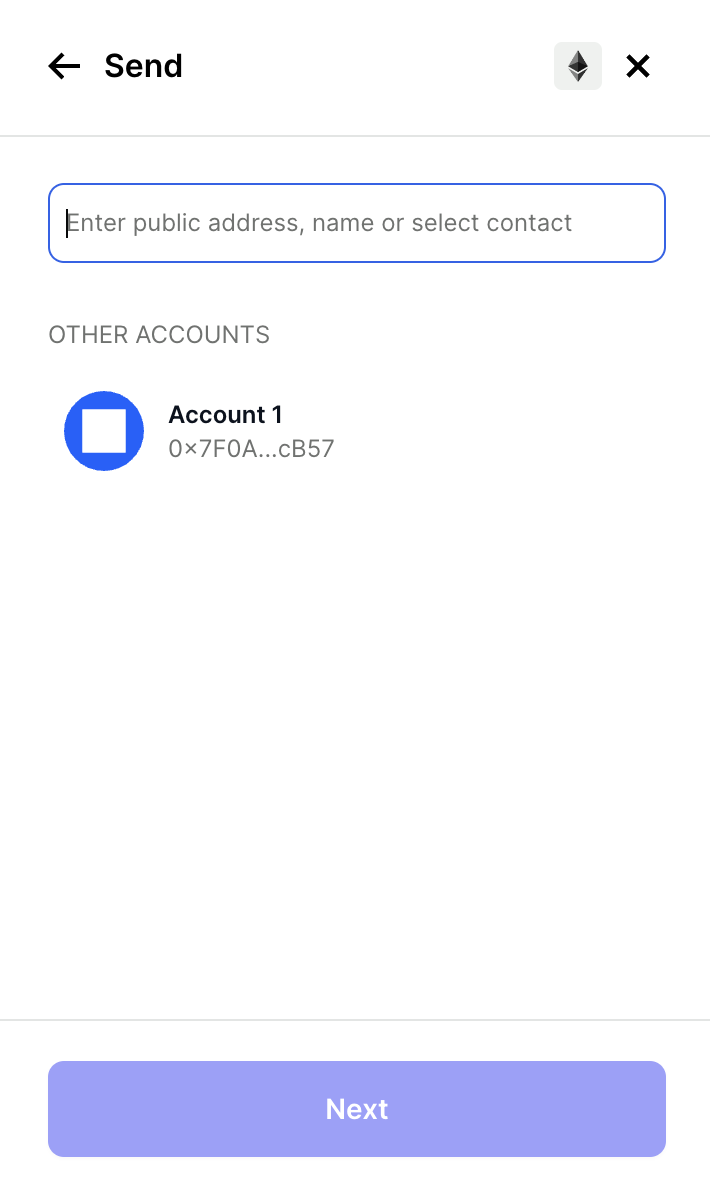
Verify on your BlockWallet's home screen: ensure 'Keystone' is displayed at the top left, accompanied by a QR-Code symbol. This confirms that the linked AirGap account is currently selected. Now to do a transaction tap the Send button in the middle of the screen.
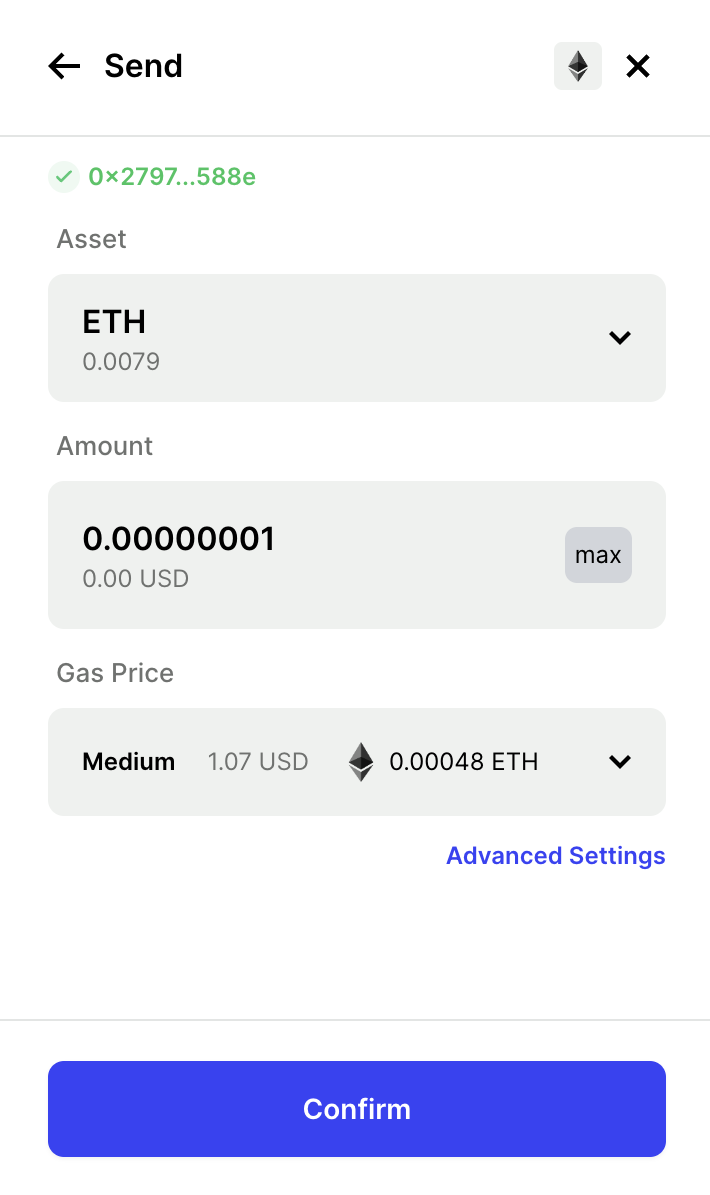
Enter the address that you want to send to. Then, enter the amount you want to send. You can also make additional changes like gas price and nonce here.
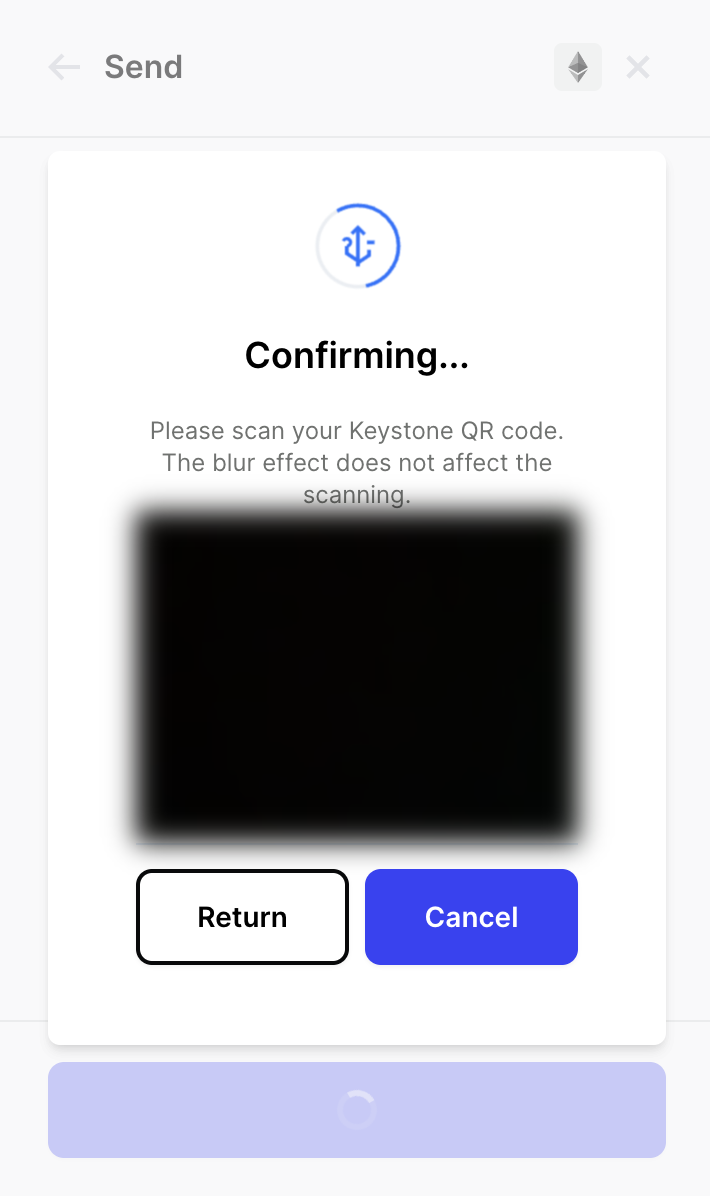
A QR code will appear. Scan this QR code with the AirGap Vault app. To scan it, tap on the scanner button on the home screen of the Vault app.
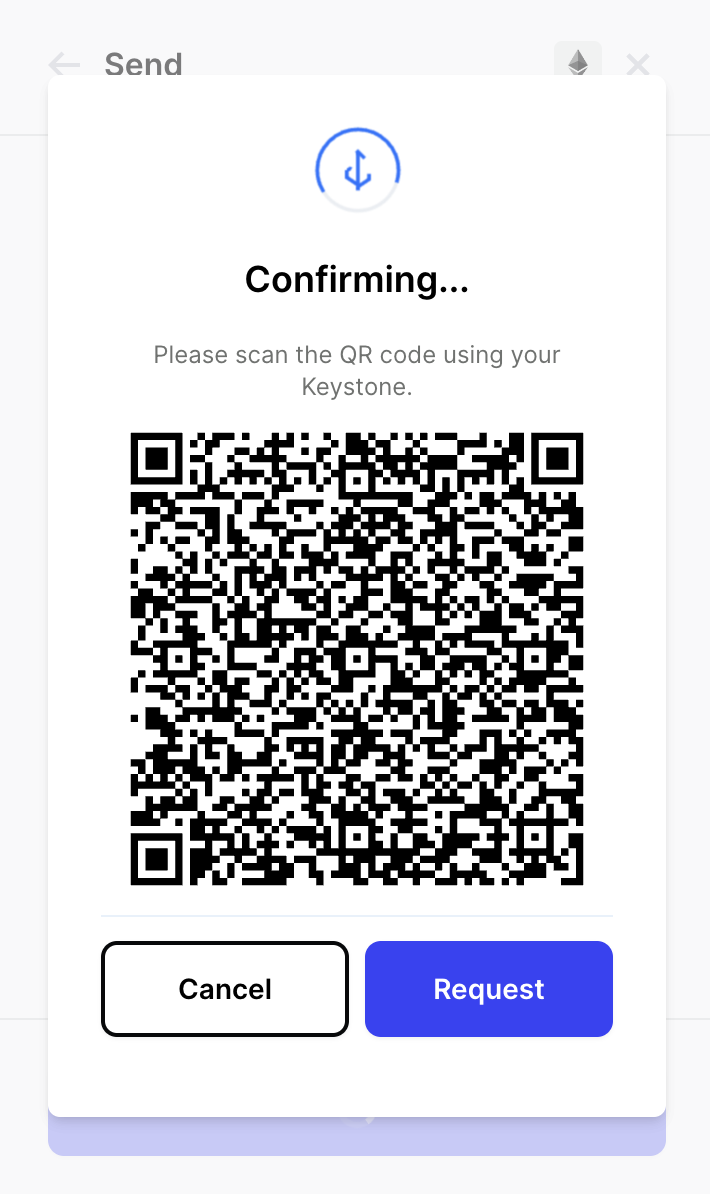
After you sign the transaction, a new QR code will appear. Scan this QR code with BlockWallet. That's it. You have successfully made your first transaction on BlockWallet.