Setup MetaMask extension with AirGap Vault
In this guide, we will explore how you can set up MetaMask as a watch-only wallet with AirGap Vault.
MetaMask Mobile
If you interested in setting up MetaMask mobile please visit here
MetaMask is a non-custodial wallet for accessing EVM-compatible blockchains.
If you already have MetaMask installed, you can skip the next step and proceed to pair MetaMask with AirGap Vault.
Other EVM network
In this guide, we used the Ethereum Network as an example, but the AirGap Vault is blockchain agnostic. It can sign transactions on any EVM chain by adding the RPC of that chain to MetaMask. Nothing needs to be done on the Vault, besides the steps listed below. We've tested it for BNBchain, Avalanche, Polygon, Celo, FUSE network, Moonriver, Moonbeam, and Astar.
Other EVM network
This guide is specific to MetaMask extension. Please visit here for the guide on how to connect AirGap to MetaMask mobile.
:::Important Before this, make sure you have turned on QR code intteraction on Vault. You can do it by going to Vault settings > vault interaction, and set it to qr code scanning. :::
1. Installation
On your PC, visit the MetaMask website and click on "Download" and follow the instructions for your browser.
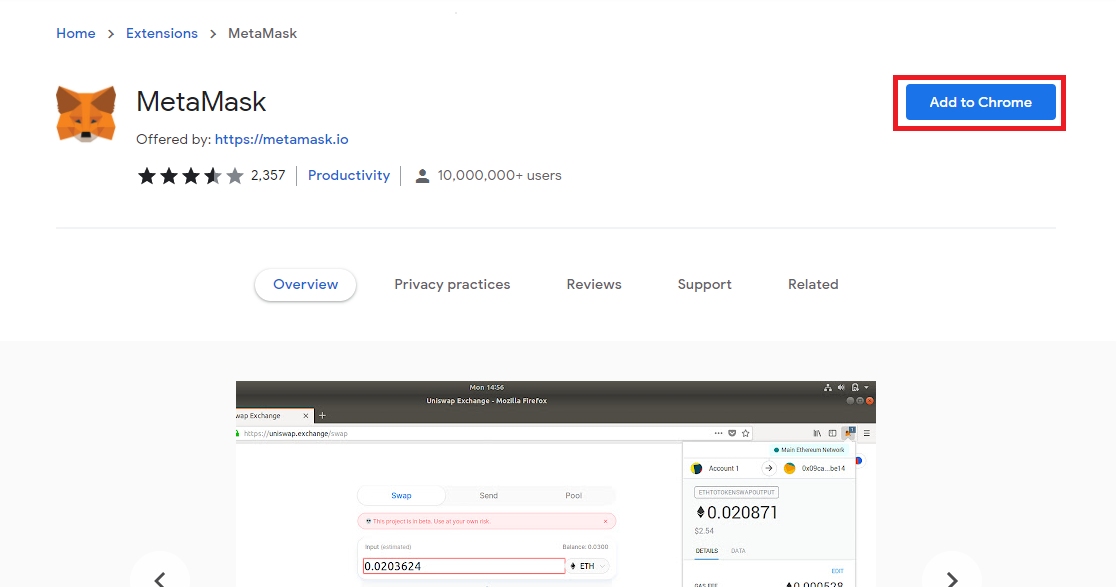
Install the extension.
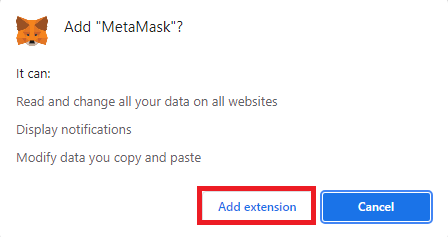
Confirm the installation by clicking on "Add extension" from the popup.
Your browser will then download and automatically install the MetaMask extension.
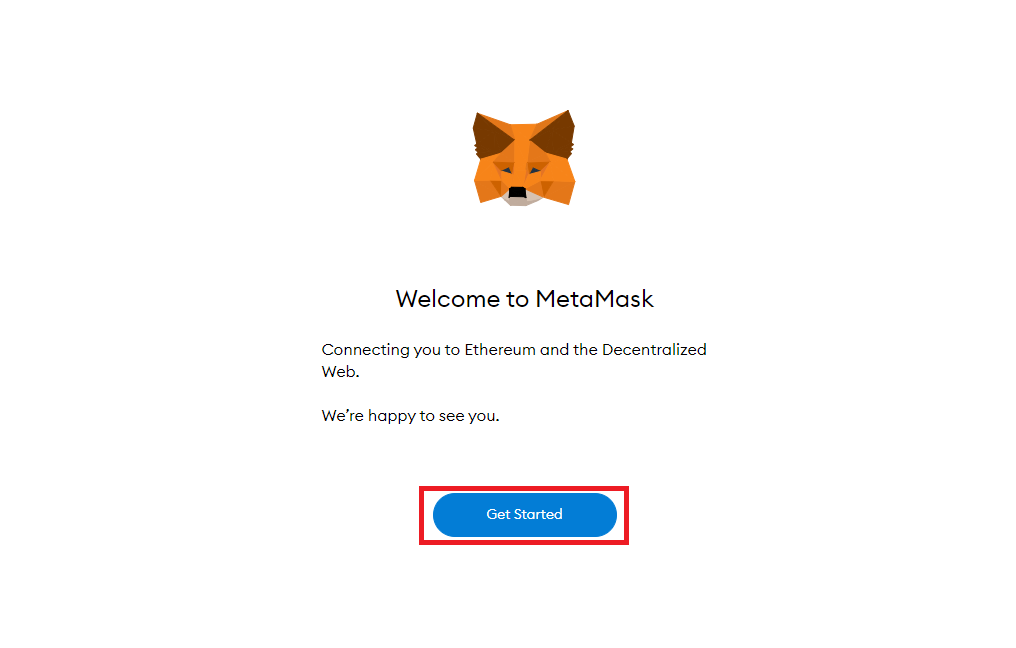
You will get a confirmation popup after completing this step, after which your browser will automatically launch a new tab.
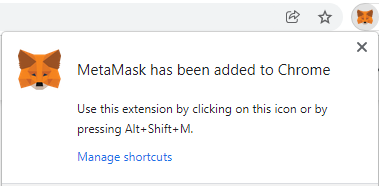
Click on "Get Started" to begin setting up MetaMask.
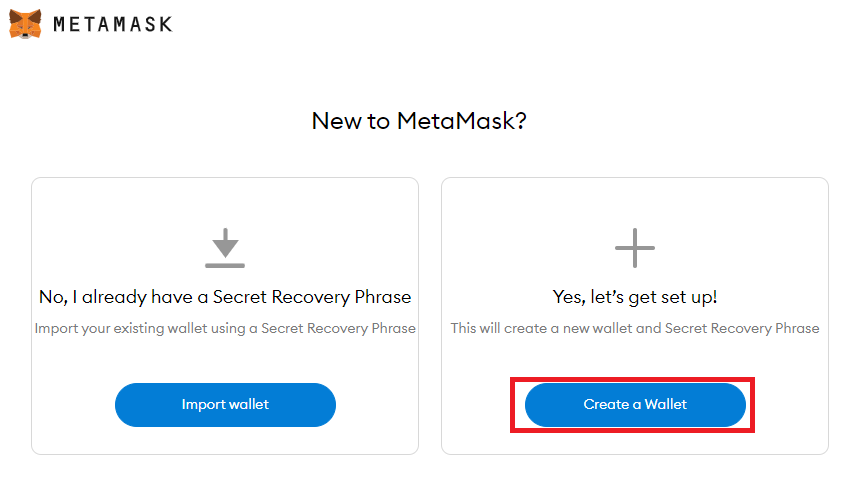
Choose between creating a new wallet and importing an existing one. For this guide, we will create a new wallet.
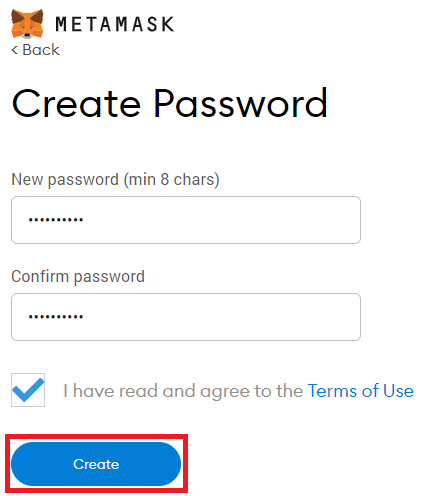
Set a secure password.
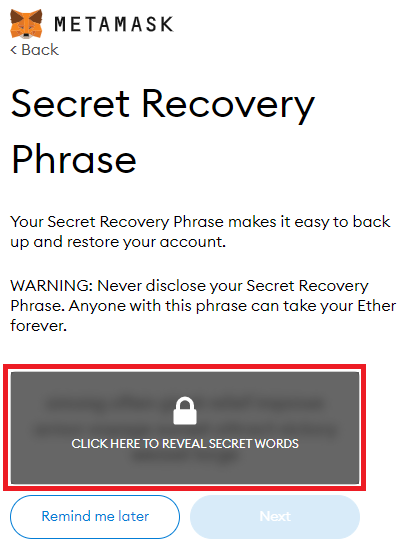
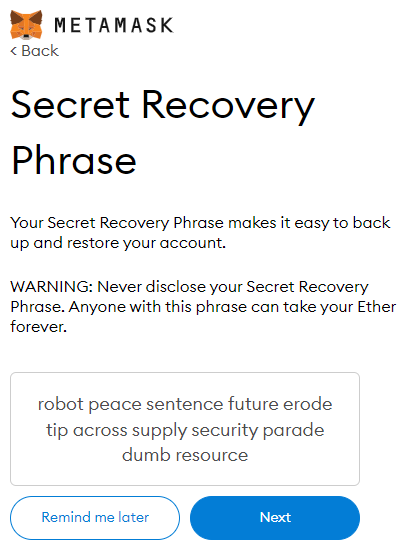
Keep your secret recovery phrase somewhere safe.
Unused wallet
If you are planning to use MetaMask with AirGap Vault, the wallet that you generated in this process will not be used. However, it is still recommended that you create a backup of it in case you send funds to it by accident.
Confirm your secret recovery phrase in the order shown on the previous page, and then click the "Confirm" button.
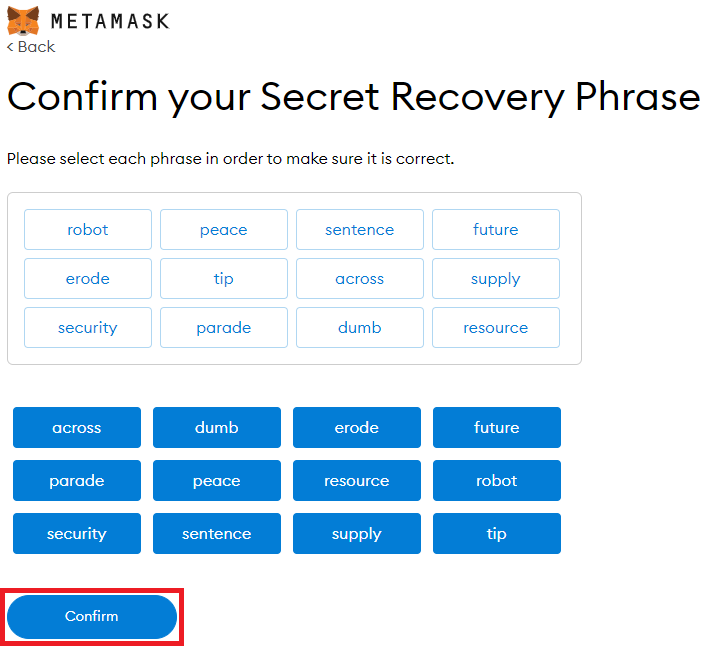
Congratulations, you have successfully set up MetaMask, which is the first step in the process.
2. Pair AirGap Vault with MetaMask
Add a new ETH account to your Vault.
Click on the arrow sign then the plus + sign at the bottom right corner.
Select ETH and click the create button. After that select, the newly created ETH account
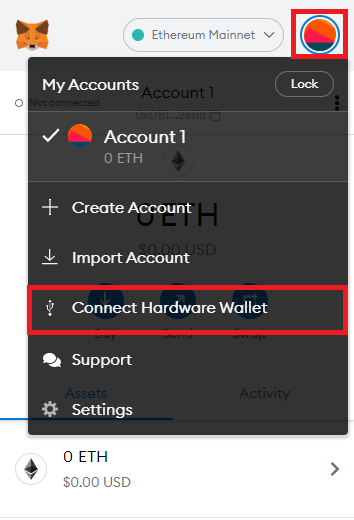
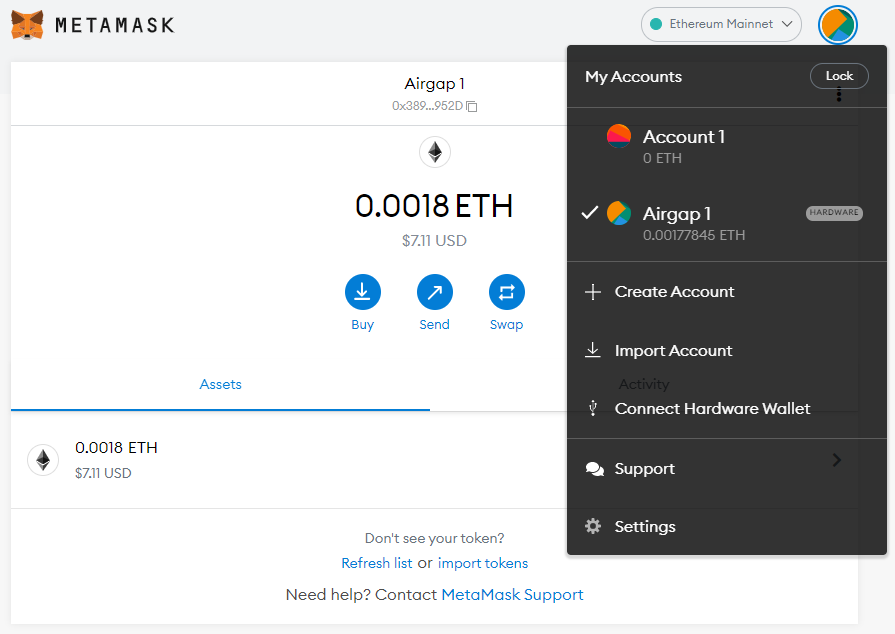
Select the MetaMask button and Open MetaMask, Click on the circle at the top right corner and select connect hardware wallet.
In MetaMask, click on the circle at the top right corner and select "Connect Hardware Wallet".
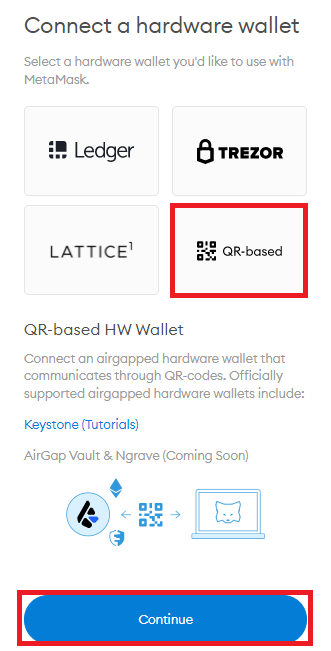
Select "QR-based" and click "Continue".
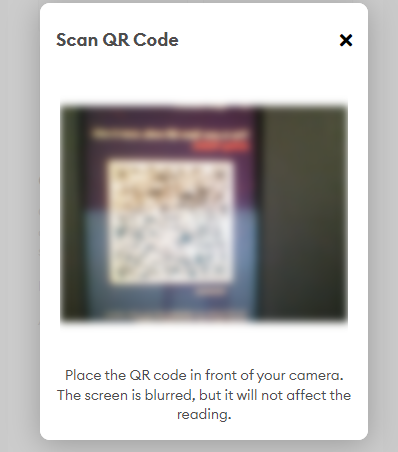
Scan the QR-code in AirGap Vault.
Select the Account that you want to add and click "Unlock".

MetaMask should now be successfully paired with AirGap Vault.
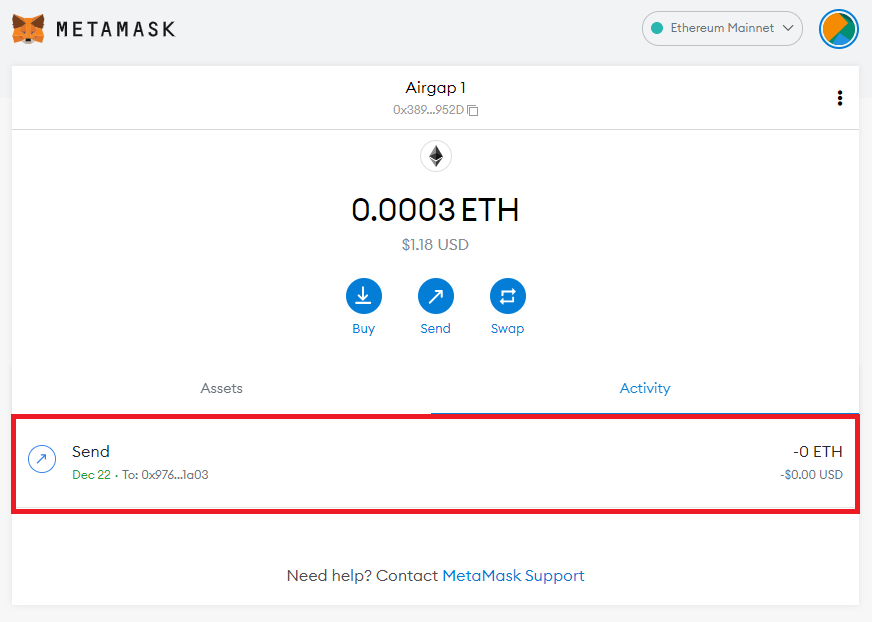
3. Sending ETH Using MetaMask
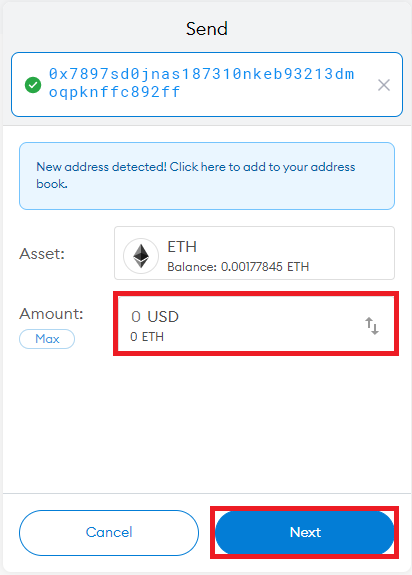
In MetaMask, click "Send". Input the destination address and specify the amount.
Open the Vault and scan the QR-code.
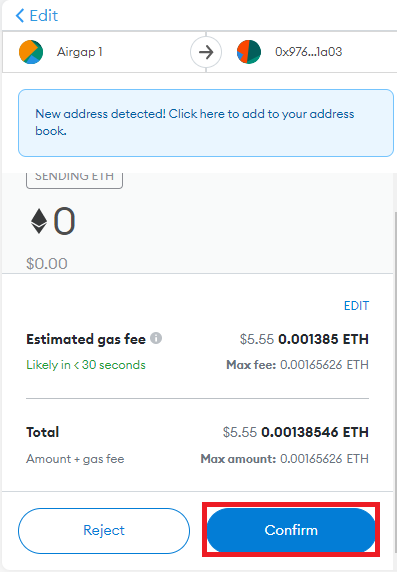
Inspect and verify the transaction details and ensure that they are correct. Then sign the transaction and select "offline device".
Click the get signature button on MetaMask.
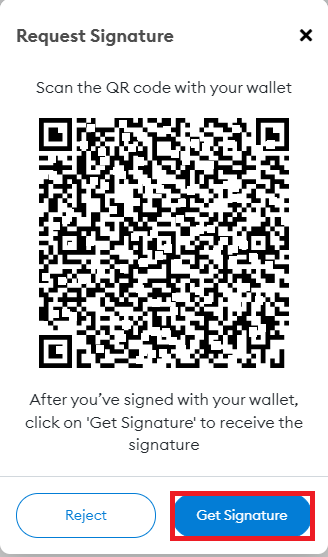
Scan the QR-code from the Vault.
After scanning the QR-code, the transaction will be sent to the Ethereum network and the process is completed. You can use the same process to send ERC-20 tokens or interact with any smart contract.