Setup Rabby Wallet with AirGap Vault
This guide will explore how you can set up Rabby Wallet as a watch-only wallet with AirGap Vault.
Rabby Wallet is a game-changing non-custodial browser extension wallet for Defi users to access over 37 blockchains.
If you already have Rabby installed, you can skip the next step and proceed to pair Rabby with AirGap Vault.
1. Installation
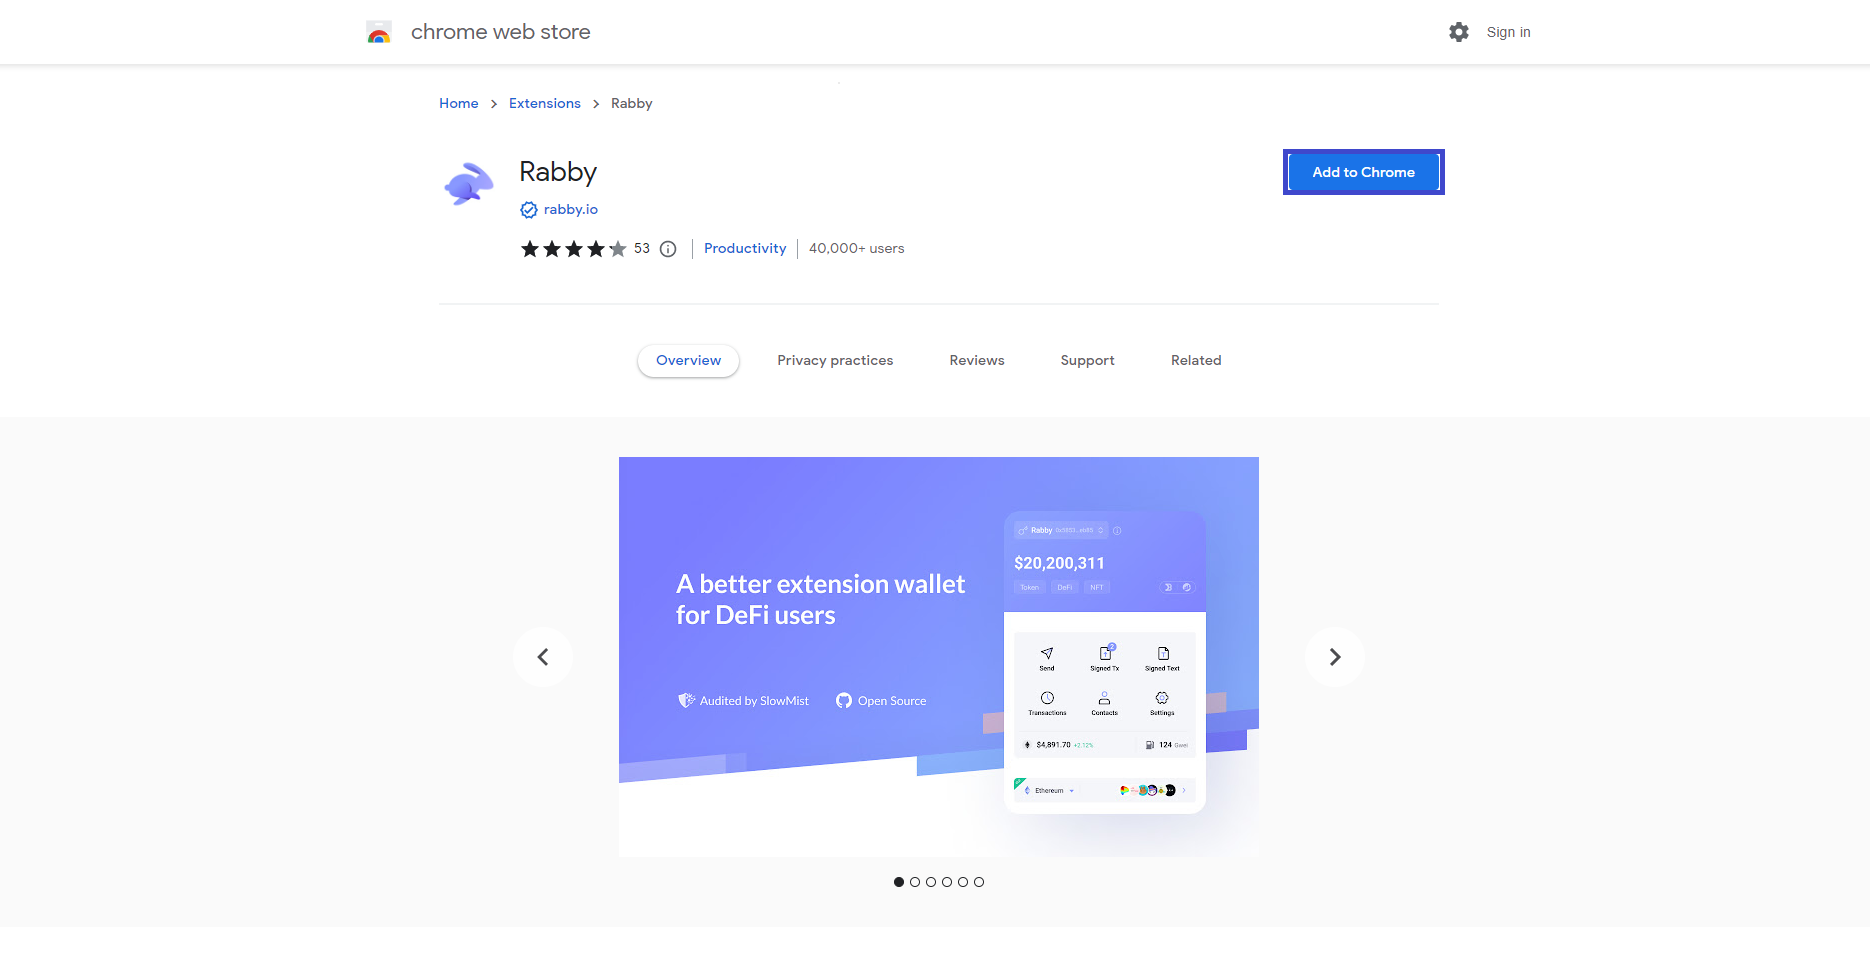
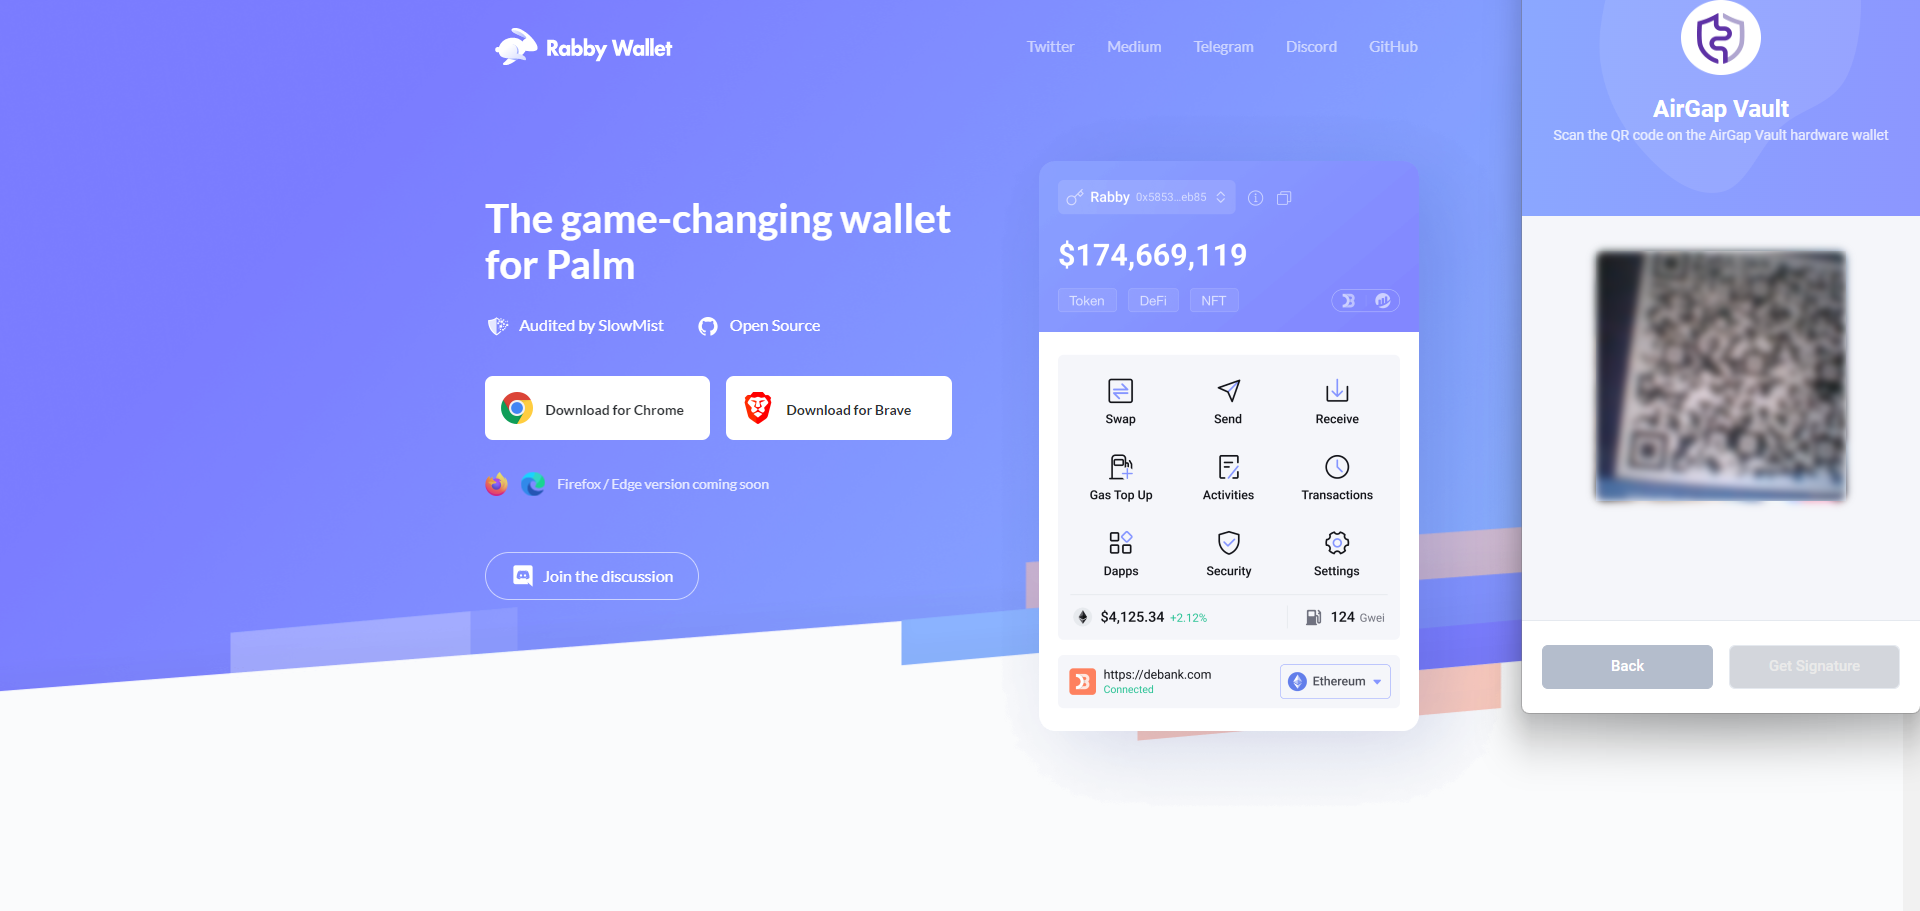
On your PC, visit the Rabby wallet website , click on "Download for chrome" or "Download for Brave" and follow the instructions for your browser.

Click the “Download for Chrome” or “Download for Brave” button.
Confirm the installation by clicking on "Add extension" from the popup.
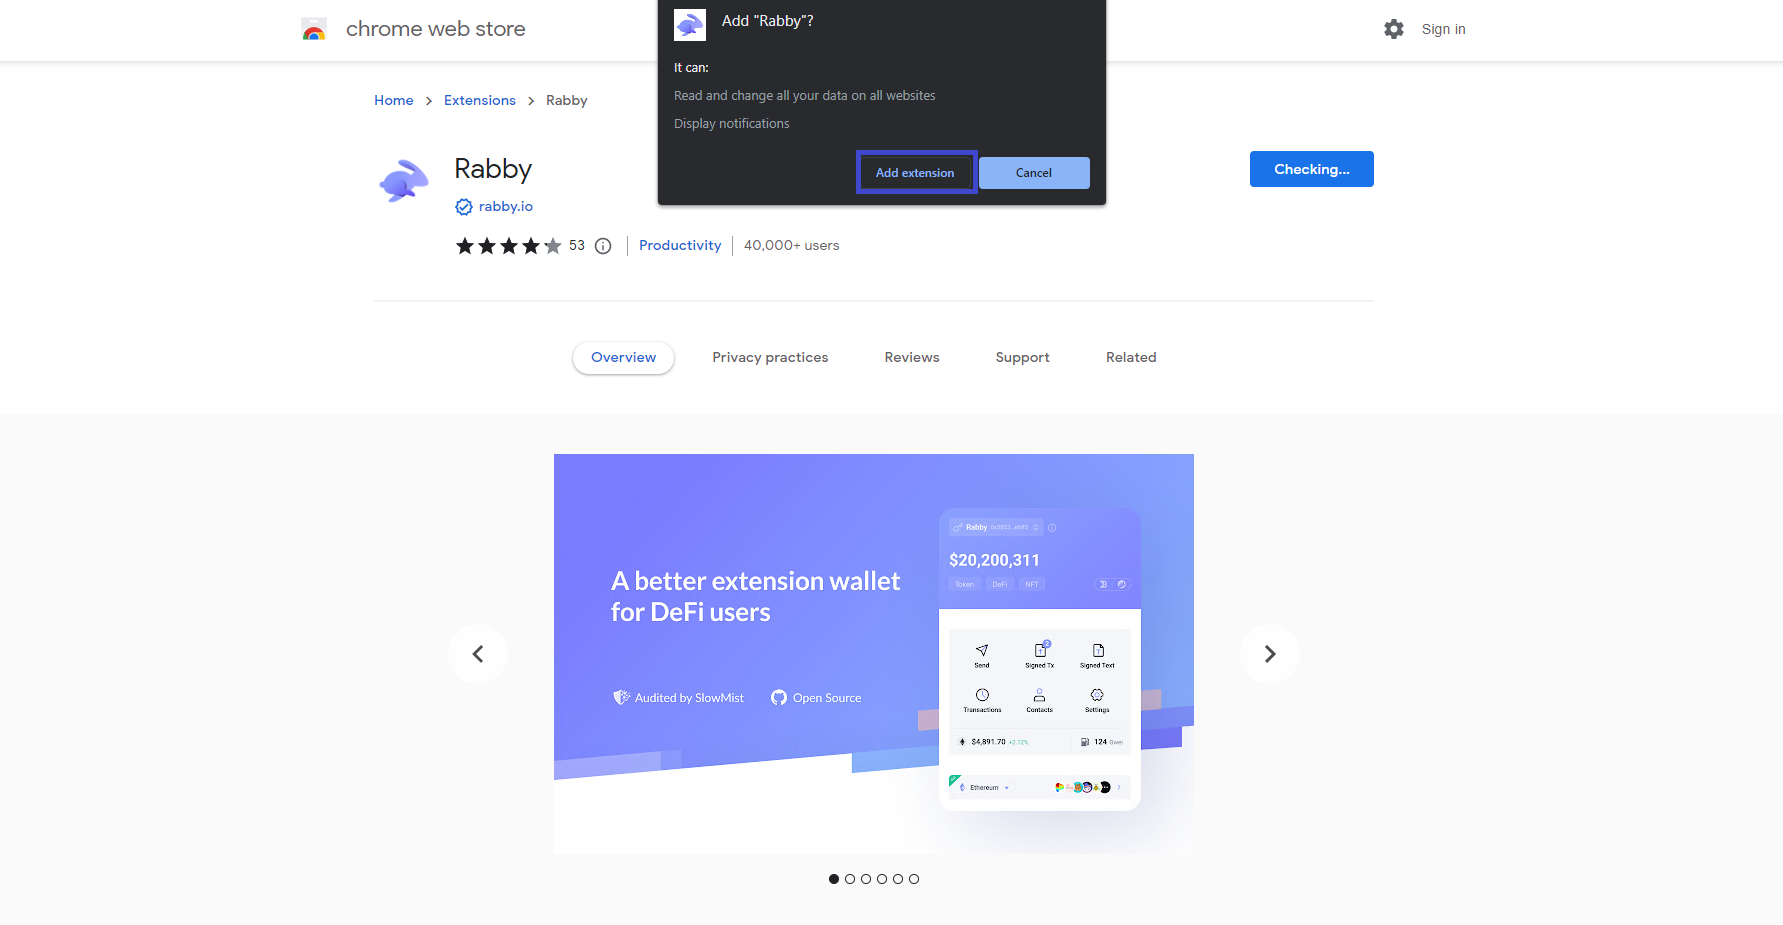
Your browser will then download and automatically install the Rabby Wallet extension.
You will get a confirmation popup after completing this step.
2. Set up Rabby Wallet and pair it with AirGap Vault.
Launch Rabby Wallet and click the Get Started button.

Specify a password, confirm it and click the next button.

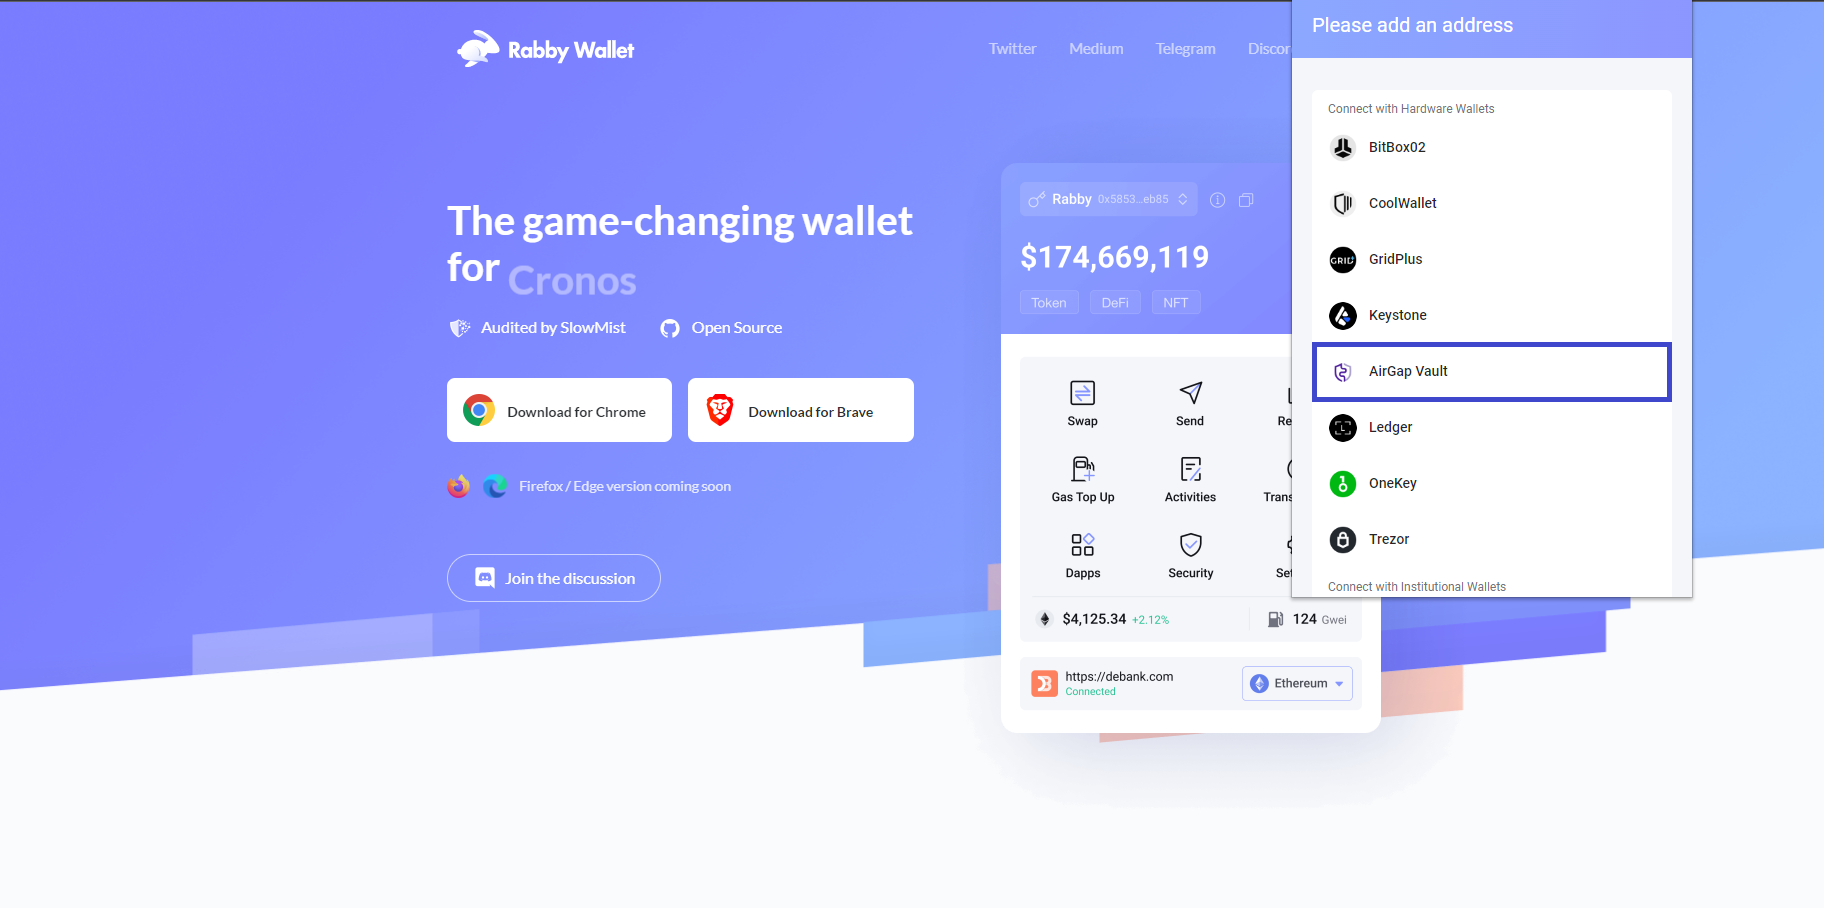
Click AirGap Wallet
Open the Vault and create an ETH account.
Select the ETH account
Select "Rabby"
Scan the QR code on Rabby Wallet.

Select the address you want and click the next button.
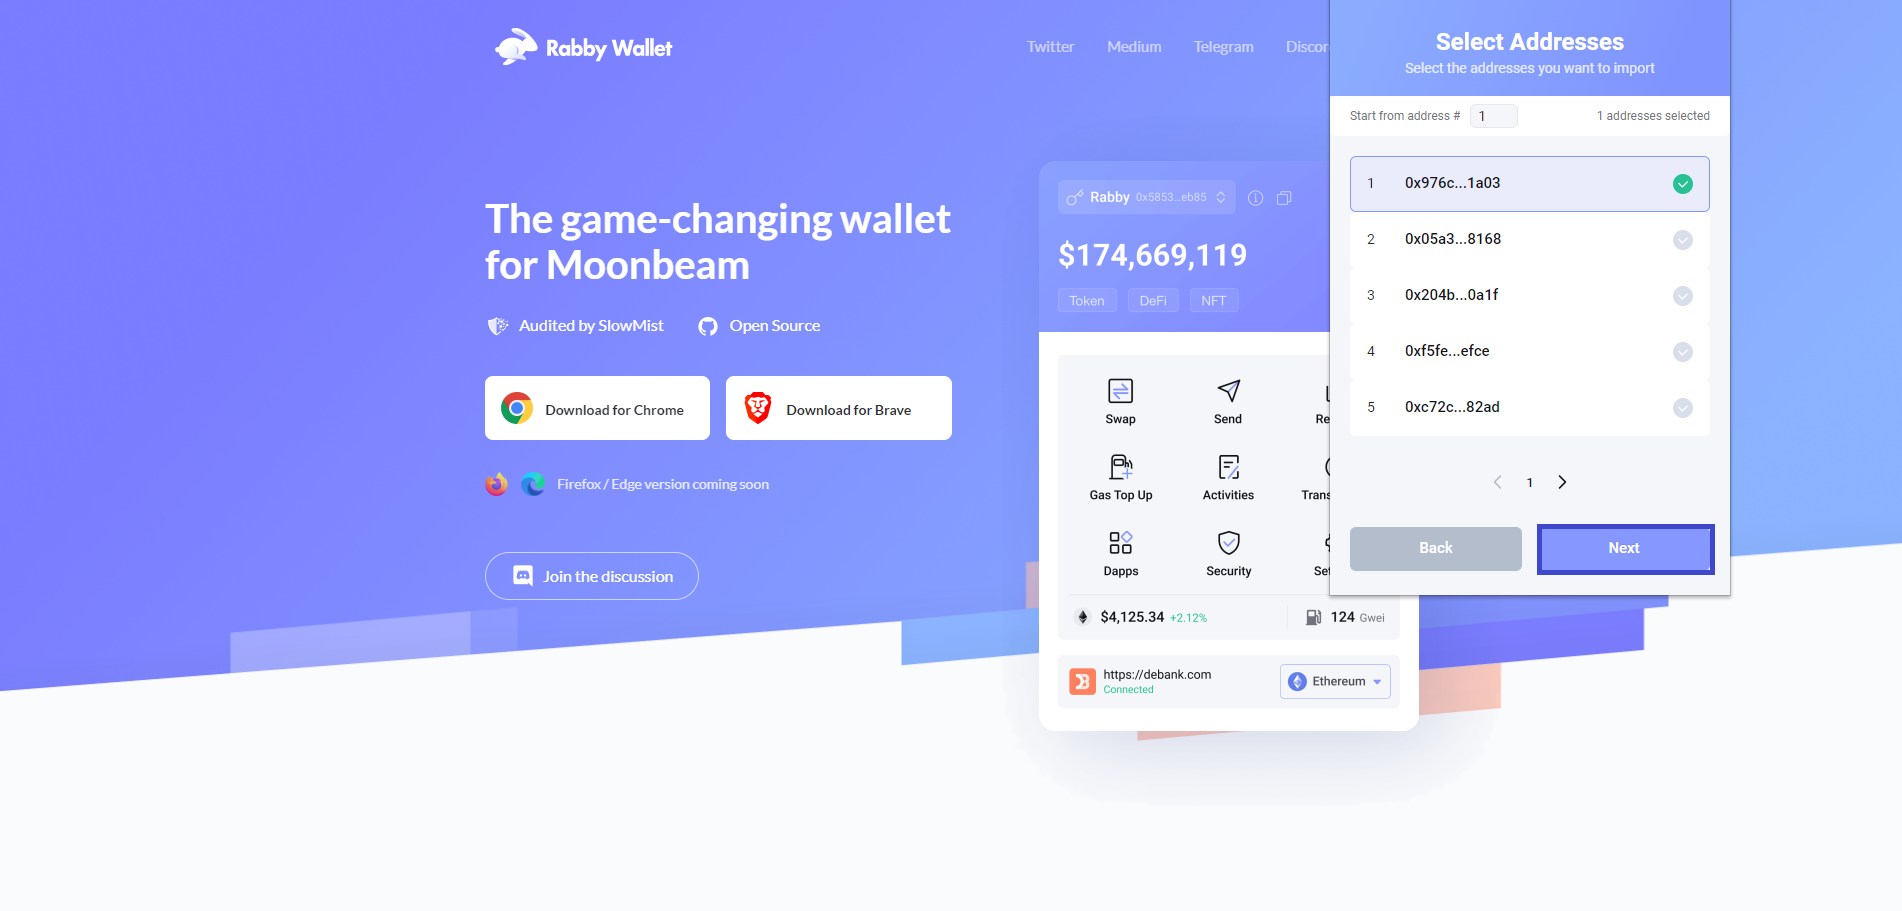
You should get a successfully imported message
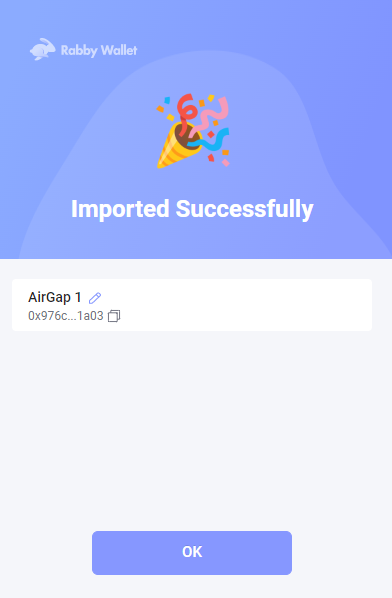
2. Sending transaction Using Rabby Wallet and AirGap Vault
In Rabby Wallet, click "Send" button.

Input your address, Select the blockchain, token/coin, specify the address and amount. Click the send button.

Click the proceed button.
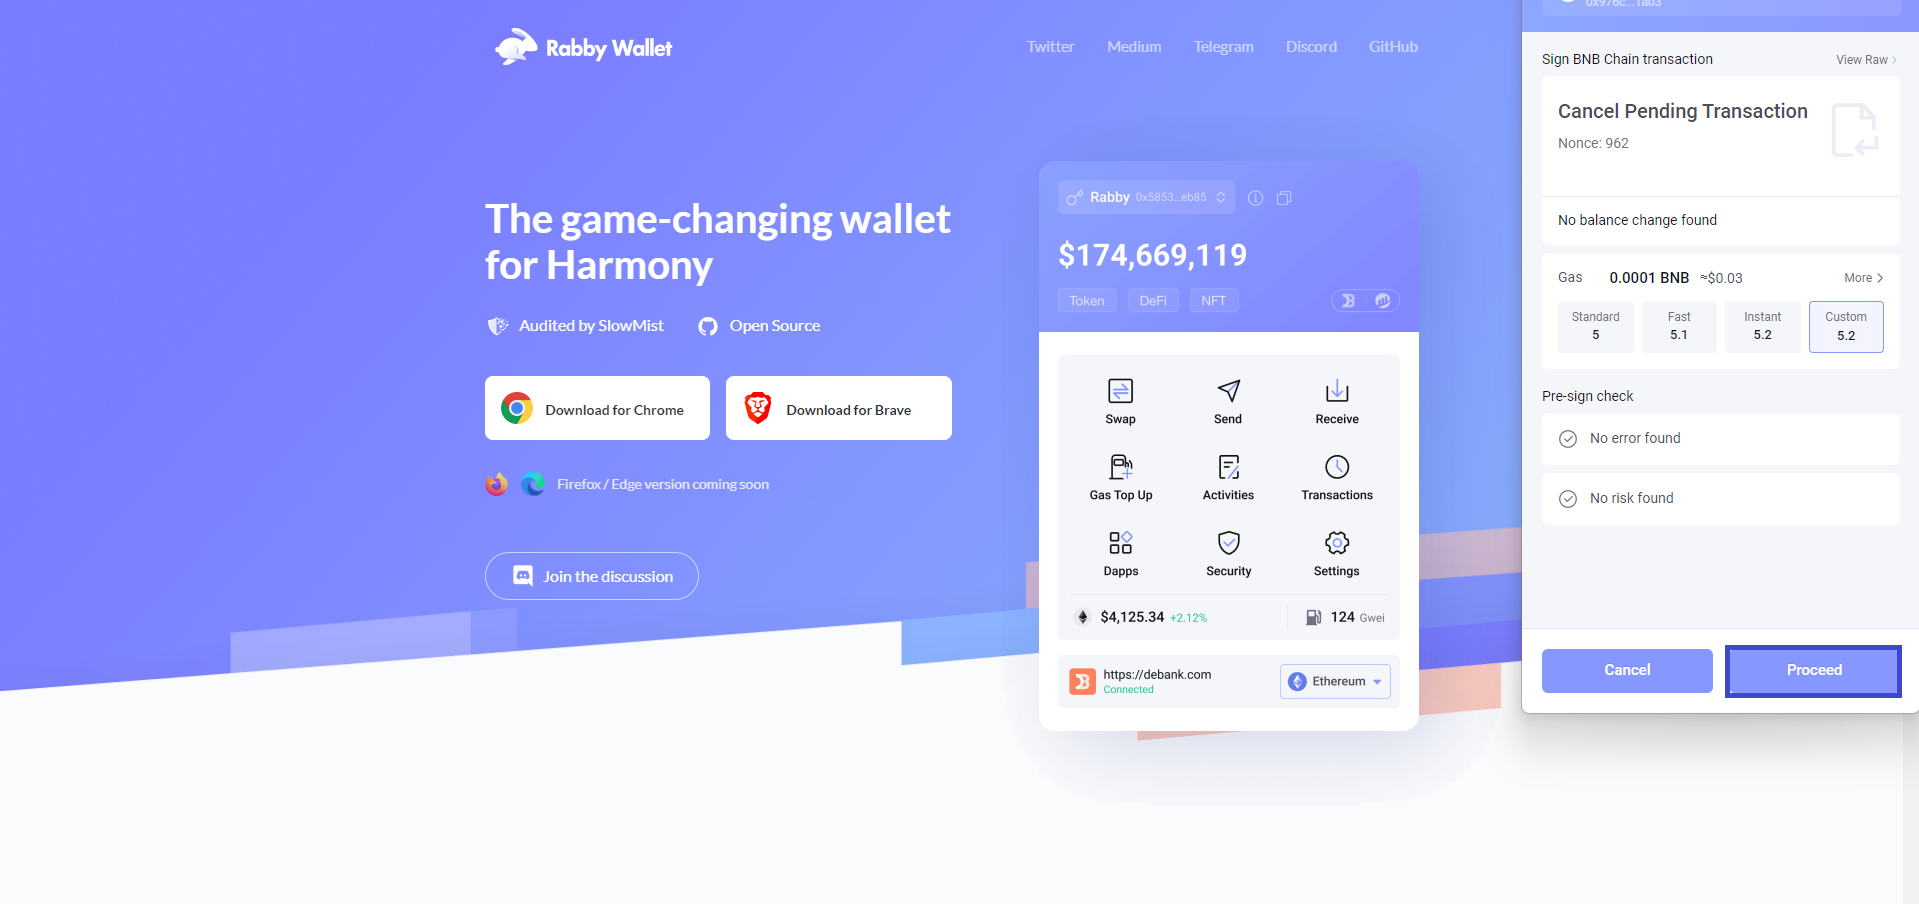
Open the Vault and scan the QR code.
Click the sign transaction button
Select QR code signing.
Go to Rabby Wallet and click the "Get Signature" button.
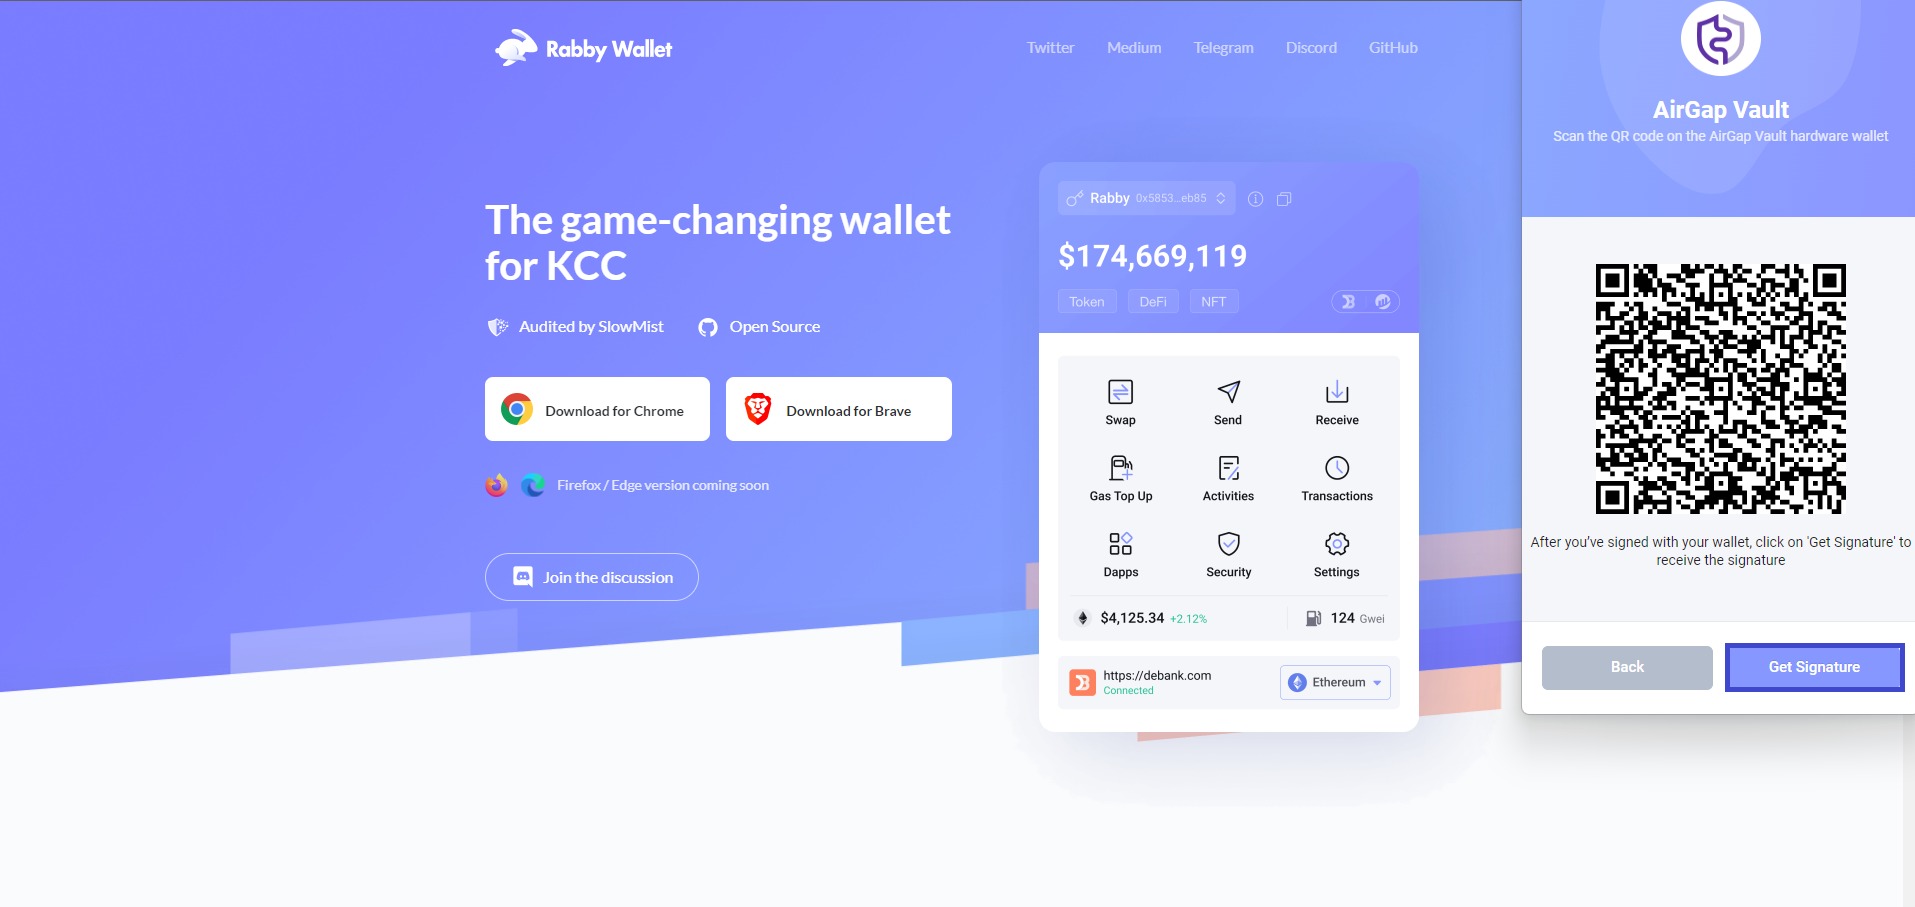
Scan the QR-code from the Vault using Rabby Wallet.
You should get a transaction completed message from Rabby wallet at the bottom right corner of your browser.
